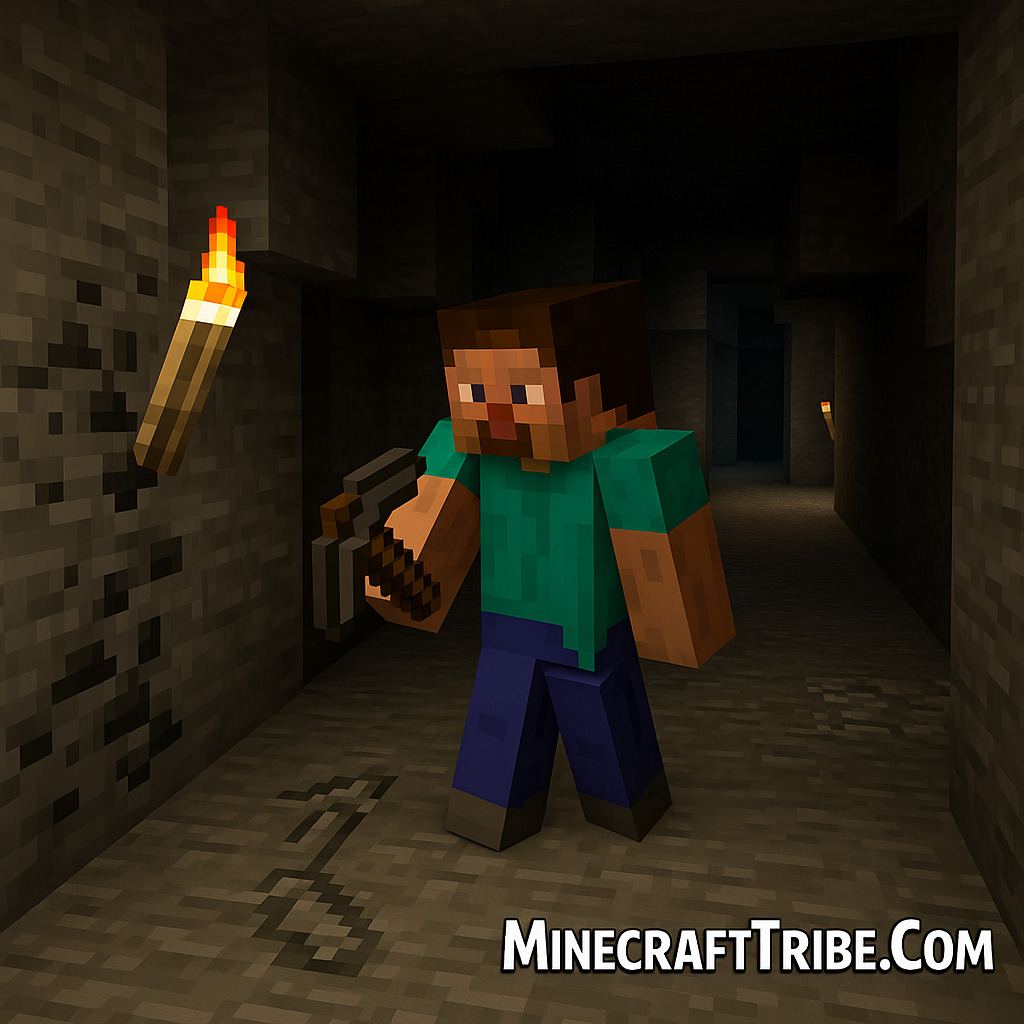
Ready for your first adventure underground? Day 3 is when you move from survival into exploration — and if you’re not careful, it could be your last.
If you’ve followed our cave shelter strategy for Day 1 and upgraded your tools on Day 2, then you’re ready to take the next big step: exploring caves.
But caving in Minecraft isn’t as simple as just walking into the darkness. It’s dangerous. Mobs hide in the shadows, lava flows where you least expect, and getting lost is easier than it looks.
So let’s go over exactly how to mine smart, survive mobs, and start collecting rarer resources like iron, lapis, and maybe even your first redstone.
⛑️ Step 1: Gear Up for the Cave
Before you enter any cave, prepare like you mean it.
You’ll need:
- 🪓 Full stone tools (or iron if you have enough)
- 🔥 At least 32 torches
- 🛡️ Shield (Java only) – absolute life-saver
- 🪣 Bucket with water (lava defense & fall saver)
- 🍖 10+ cooked food
- 🧱 Stacks of blocks (like dirt or cobblestone)
- 🗺️ Optional: Craft a chest to store what you don’t need to carry

🔦 Step 2: Choose a Cave — Or Dig Your Own
There are two ways to begin mining:
- Natural Cave: Find a cave entrance in hills or forests. Look for coal or iron exposed.
- Manual Mine: Dig a staircase from your base downward.
Start by:
- Placing torches every 5–7 blocks to keep mobs from spawning
- Block off dead ends
- Use signs or markers to track your way back
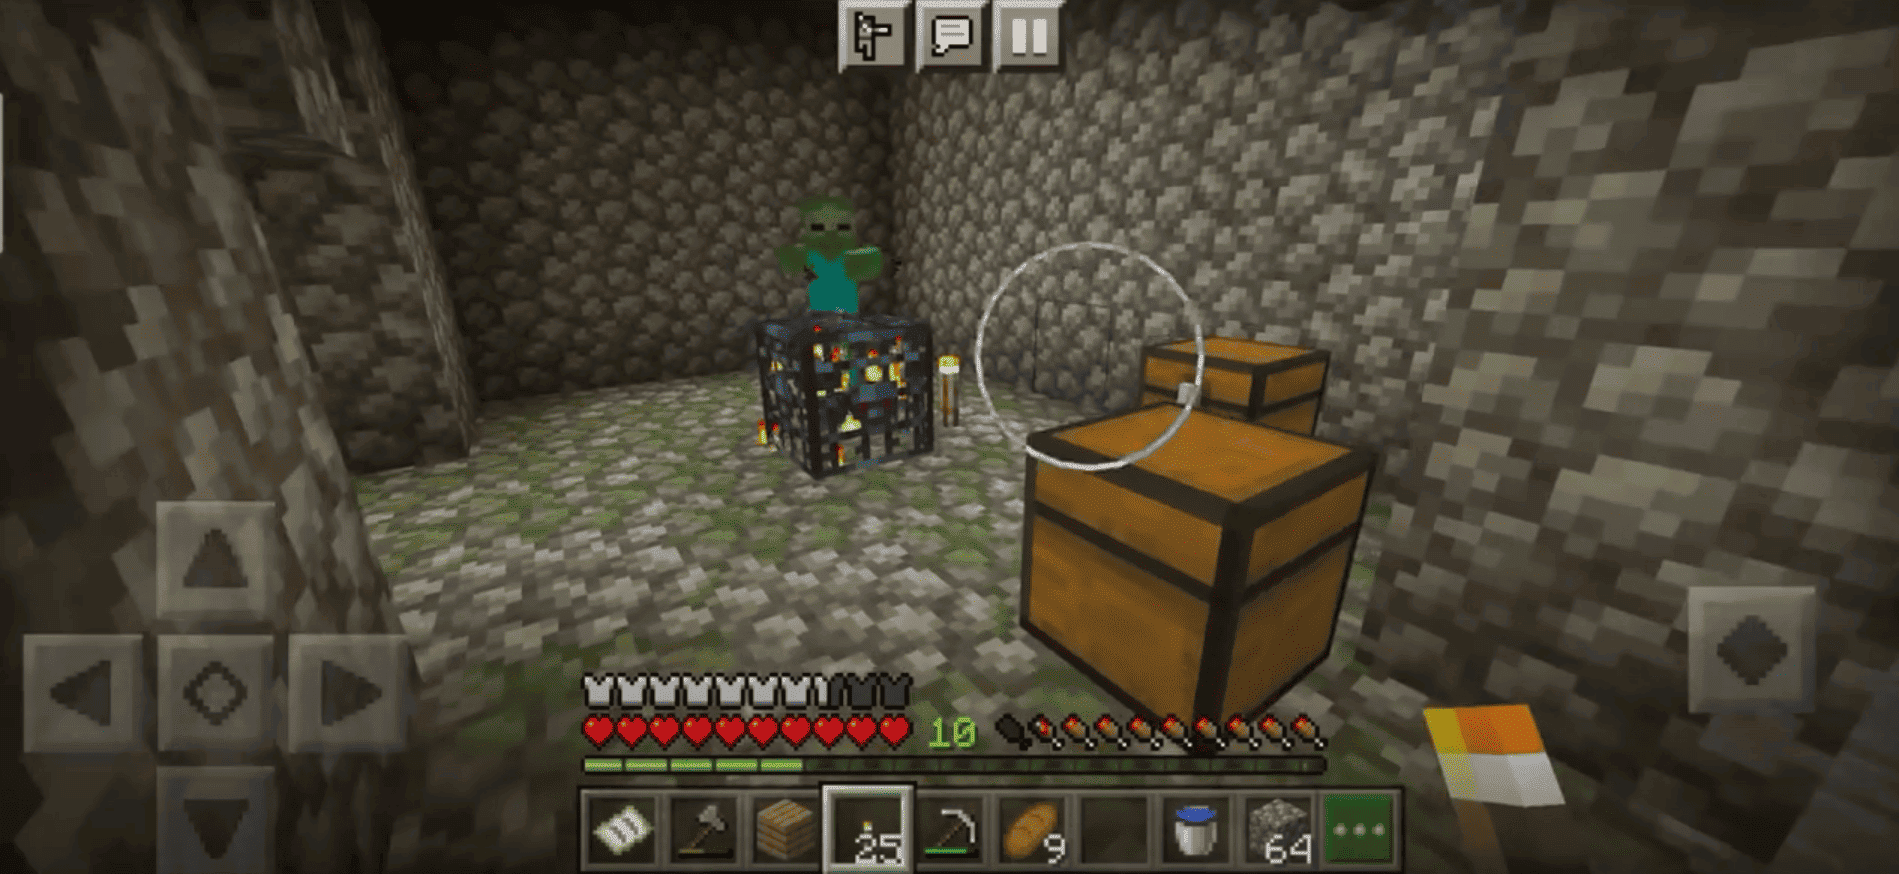
🧱 Step 3: Stay Safe from Mobs
In caves, you’ll likely meet:
- 👾 Zombies
- 🕷️ Spiders
- 💀 Skeletons (biggest threat early game)
Tips to stay alive:
- Keep shield up when approaching corners
- Use blocks to trap mobs or create barriers
- Don’t dig straight up or straight down
- Run back and block entrance if overwhelmed
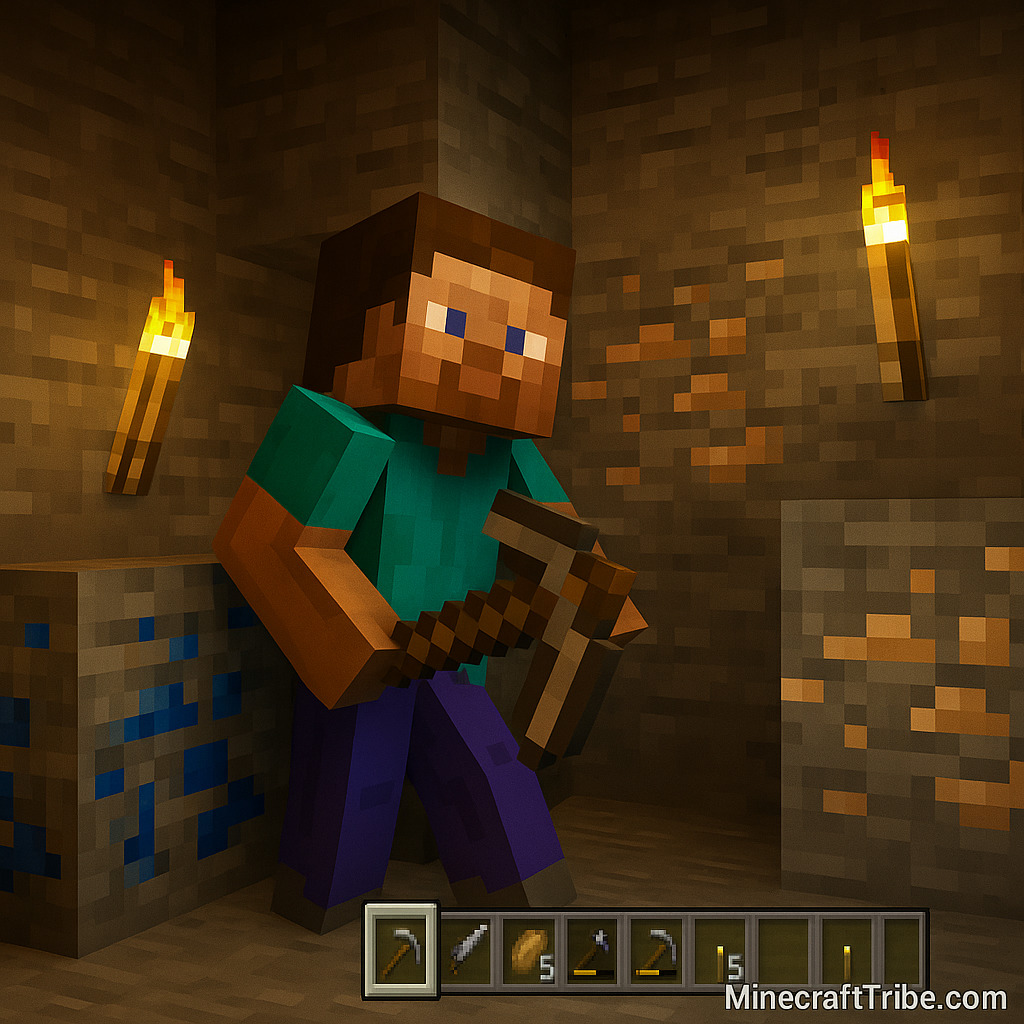
⛏️ Step 4: Collect Useful Ores
Prioritize:
- Coal – for more torches
- Iron – armor, tools, bucket
- Copper (optional) – for spyglass, lightning rod
- Lapis Lazuli – enchanting later
- Redstone – future automation (keep for later use)
Bring at least two stone pickaxes, or iron pickaxe if you plan to go deep.
🧭 Step 5: Don’t Get Lost – Navigation Tips
Getting lost underground is how most beginners die. Use these tricks:
- Always place torches on the right wall going in → follow left wall to exit
- Use signs or cobblestone pillars as breadcrumbs
- Bring a map or write coords of your shelter
📦 Step 6: Return Safely Before Dark
Don’t try to stay underground forever. Your inventory will fill, and monsters will stack up.
- Head back when:
- Inventory is nearly full
- You’re low on food
- You’ve found at least 10–20 iron
- Smelt ores in furnace
- Store loot in chests
- Craft new tools or armor if possible
🛠️ What to Craft After Caving
If you’ve got enough iron, start crafting:
- Iron Armor (helmet or chestplate first)
- Iron Tools (pickaxe, sword)
- Shield (Java only)
- More buckets (lava transport or safety)
🧠 Quick Survival Checklist for Day 3
- ✅ Torch up cave before entering
- ✅ Bring shield, food, water, and blocks
- ✅ Don’t dig straight up/down
- ✅ Prioritize coal, iron, lapis, redstone
- ✅ Use markers or right-hand torch rule
- ✅ Return before nightfall
🏁 What’s Next on Day 4?
On Day 4, you’ll start building a real home, maybe explore a village, or start preparing for farming and enchanting.
Stay tuned for:
“How to Build a Starter House in Minecraft – Day 4 Survival Guide”