Minecraft’s charm lies not only in its blocky aesthetic but also in how easily it can be customized. One of the simplest ways to revamp your game’s visuals is by using Texture Packs (also known as Resource Packs in modern versions). These packs change how blocks, items, mobs, and even the UI appear — offering a fresh perspective without altering gameplay.
Whether you want a cleaner interface, more realistic environments, or vibrant cartoon styles, there’s a texture pack for you. This step-by-step guide will show you exactly how to install and activate texture packs in Minecraft Java Edition, no third-party tools required.
📌 Note: Texture Packs and Resource Packs are essentially the same thing in modern Minecraft (1.6 and above). This guide covers both.
📁 Step 1: Create a Folder to Organize Your Texture Packs

Before you start downloading anything, it’s helpful to create a dedicated folder to store the texture packs you collect.
- For example, if you’re installing the “Overflow” texture pack, create a folder called
MC Overflow Texture Packon your desktop or in your Downloads directory. - This helps keep things tidy, especially if you plan to try multiple packs.
🌐 Step 2: Download a Texture Pack
Visit MinecraftTribe’s Resource Packs Collection to browse hundreds of curated texture packs. Choose one that matches your style and is compatible with your Minecraft version.
Now that your dedicated folder is prepared, it’s time to procure a texture pack. Numerous websites cater to texture pack downloads, and among the most renowned is Planet Minecraft. Here, you’ll discover a vast selection of texture packs, accompanied by helpful user reviews and ratings.
Pro Tip: When in search of the perfect texture pack for your Minecraft world, be sure to peruse reviews and take note of ratings. Not all texture packs offer the same quality or style!
Once you’ve identified a texture pack that suits your taste, proceed to download it and store the downloaded file within the folder you recently established.
📦 Step 3: Extract the ZIP File

Once downloaded:
- Right-click the
.zipfile → choose “Extract Here” (or use a ZIP extractor like WinRAR/7-Zip). - This will unpack the contents into a folder that contains the actual resource pack files.
- After extraction, you can delete the original
.zipif you like.
🧭 Step 4: Open Minecraft’s Resource Pack Menu

Now it’s time to launch Minecraft and access the Resource Packs section.
Option A – In-Game:
- While inside a world, press ESC
- Go to Options → Resource Packs
Option B – From Main Menu:
- Click Options from the title screen
- Then click Resource Packs
Both routes take you to the same screen, where Minecraft lets you manage and apply texture packs.
📂 Step 5: Open the Resource Pack Folder and Paste Your Files

In the Resource Packs screen:
- Click the “Open Pack Folder” button (bottom-left corner)
- A File Explorer window will open. This is where Minecraft loads your texture packs from.
Now:
- Copy or drag the extracted texture pack folder into this window.
Once pasted, Minecraft will automatically detect the new pack and list it in the left-hand column.
🎨 Step 6: Enable Your Texture Pack

Back in the Resource Packs menu:
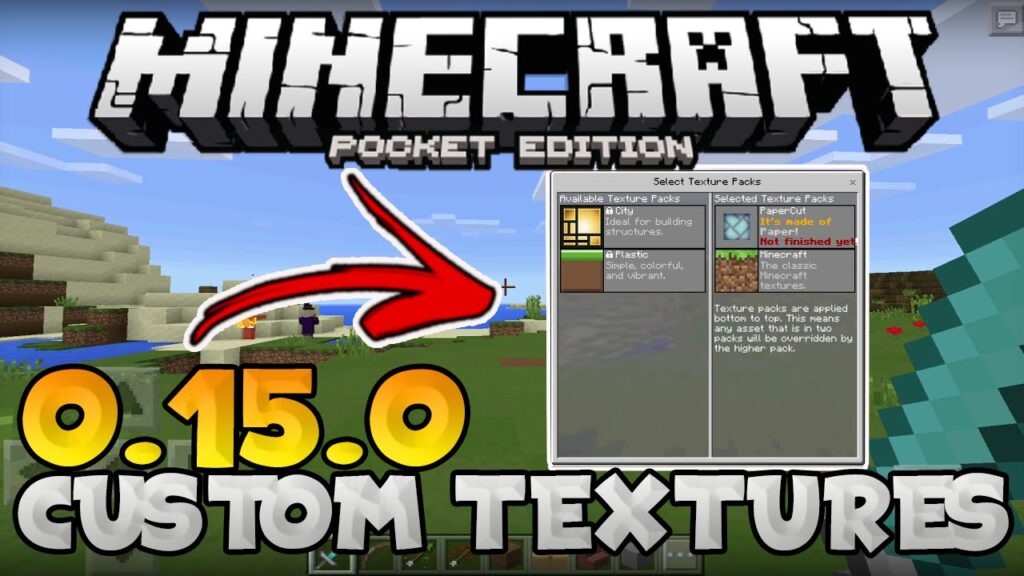
- You’ll see your new pack listed under “Available”
- Hover over it → click the arrow pointing to the right
- This moves the pack into the “Selected” column (enabled packs)
🔺 Tip: Make sure your texture pack is above the “Default” entry for it to take priority in rendering.
If the pack’s name appears red, it may be partially incompatible — but often still works.
Click Done → Minecraft will reload the textures automatically. After a few seconds, your world will now appear with the new visuals!
✅ You’re All Set!
Congratulations — you’ve successfully installed and activated a texture pack in Minecraft Java Edition. Whether you’re using realistic textures, medieval themes, or clean cartoon visuals, your world now has a fresh new look.