Spigot plugins are the heart of server customization in Minecraft. From adding minigames and economy systems to enhancing moderation tools or player commands, plugins give server admins powerful ways to tailor gameplay and create a unique experience for their communities.
In this guide, we’ll walk you through how to quickly find, download, and install Spigot plugins using resources available at MinecraftTribe.com.
⚡ Quick Setup Instructions
- Visit the MinecraftTribe Plugin Library.
- Choose a plugin you like and download the
.jarfile. - Move the
.jar(and any additional files) into your server’s/pluginsfolder. - Start your Minecraft server and wait for it to load fully.
- Type
stopin the server console to shut it down cleanly. - Restart the server — your plugin is now installed and ready to use!
🧭 Step-by-Step Installation Guide
Step 1: Browse Spigot Plugins
Head over to the Minecraft Plugins Category to explore our curated collection of Spigot-compatible plugins. Each plugin post includes screenshots, descriptions, and highlighted features to help you find the right fit for your server.
Step 2: Download a Compatible Plugin
Once you’ve found a plugin that fits your needs, scroll to the bottom of the post and click the Download from Server button. Be sure to check the plugin’s compatibility — many are version-specific (e.g., 1.20.1 vs 1.19.4), and using the wrong version could result in errors.
Step 3: Add the Plugin to Your Server
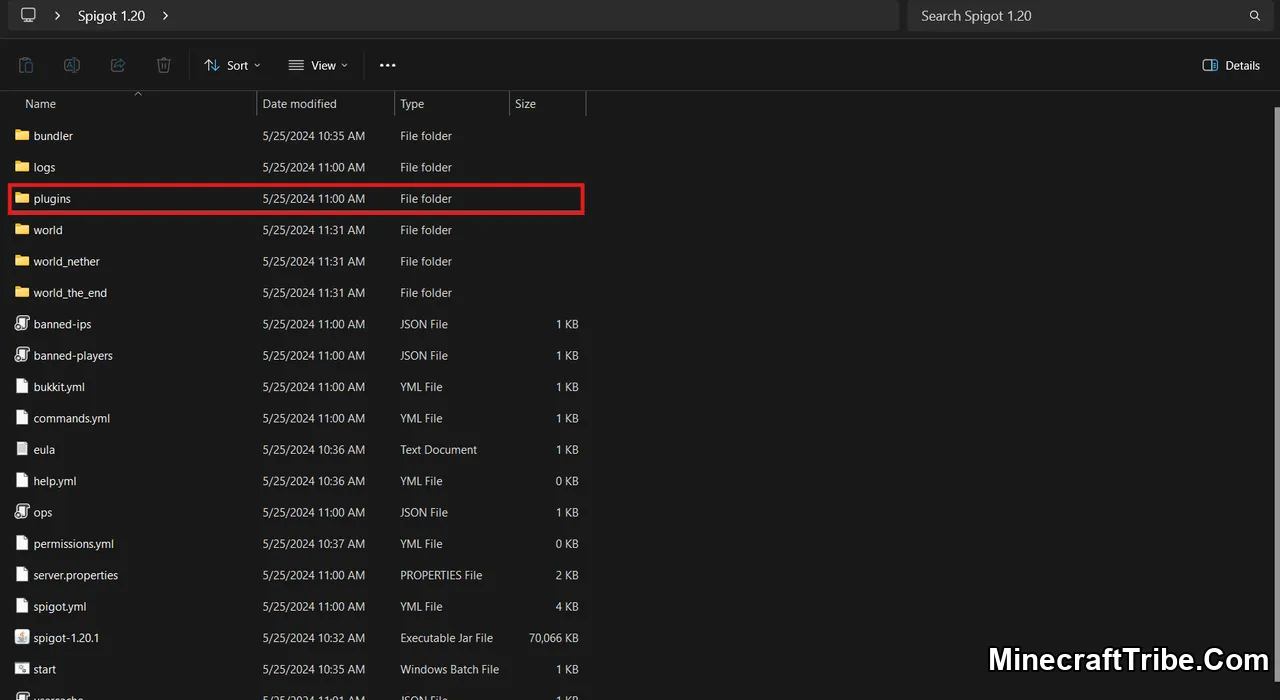
Locate your Minecraft server’s root folder. Inside it, you’ll find a folder named plugins.
- Place the downloaded
.jarfile (and any other required files) into thepluginsfolder.
- Do not unzip the
.jar— just move it directly.
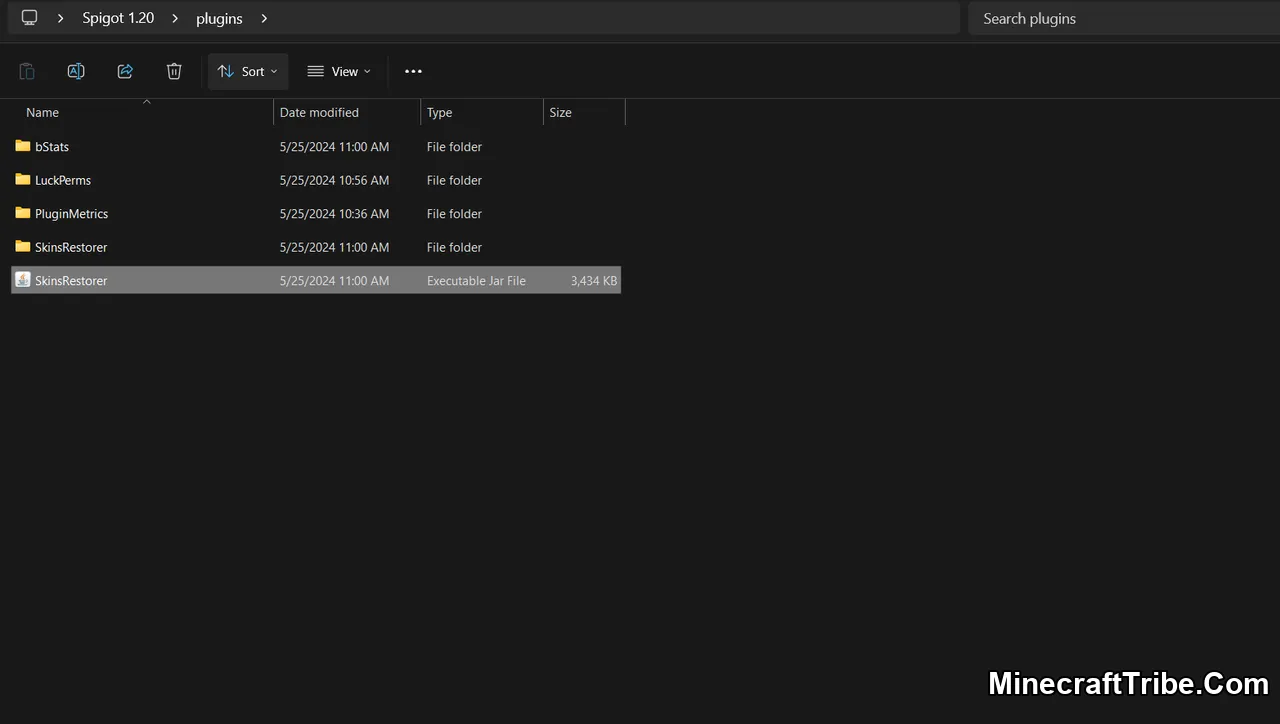
Step 4: Run the Server
Start your server. On first run, the plugin will generate any necessary config files inside the plugins folder.
To complete the setup cleanly:
-
Type
stopin the console to shut down the server safely.

- Then start it again — the plugin will now be active.
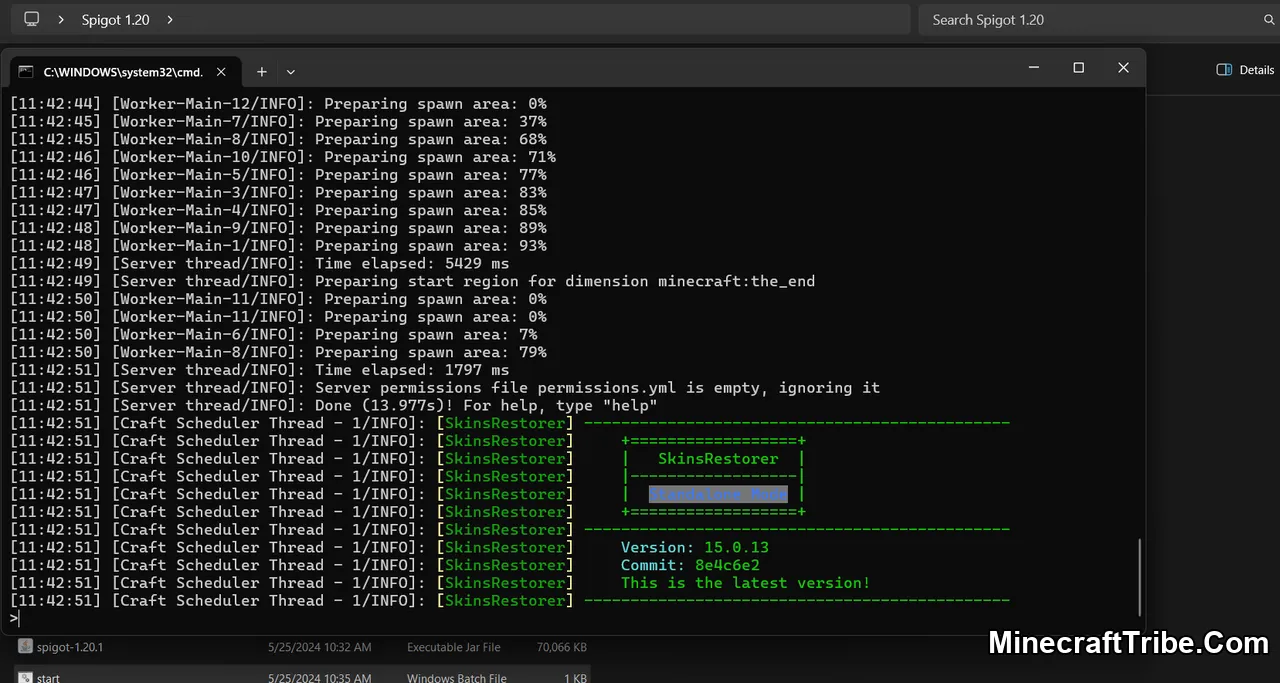
✅ That’s It!
With just a few simple steps, you’ve successfully installed a Spigot plugin on your Minecraft server. Whether you’re hosting for friends or running a large public server, plugins are essential for expanding gameplay and automating server tasks.


