NeoForge is a modern Minecraft mod loader developed and maintained by some of the original Forge team members. Designed for performance, simplicity, and forward compatibility, NeoForge has quickly become a favorite among mod developers — especially for Minecraft versions 1.20.1 and above.
If you’re new to NeoForge, don’t worry. This guide will walk you through every step of downloading and installing Minecraft mods using NeoForge, so you can enhance your gameplay in just a few minutes.
⚡ Quick Installation Guide
- Visit MinecraftTribe’s Mods Library.
- Download a NeoForge-compatible mod.
- Open
%appdata%and navigate to.minecraft. - Locate or create a folder named
mods. - Move the downloaded
.jarmod file into that folder. - Launch Minecraft with the NeoForge profile.
- Check the Mods menu to confirm your mod is active.
🧭 Step-by-Step Tutorial
Step 1: Visit the Mod Download Page
Go to the Minecraft Mods section at MinecraftTribe.com.
We offer hundreds of curated, rewritten mods with full descriptions and screenshots.
-
Use the search bar to find a specific mod.
-
Filter by version (e.g. 1.20.1) to find compatible files.
-
Click on any mod post to read details and see the download section at the bottom.
📝 Make sure the mod version matches your Minecraft + NeoForge version.

Step 2: Download Your Favorite Mod
After opening a mod post:
-
Scroll through the article to view features, screenshots, and system requirements.
-
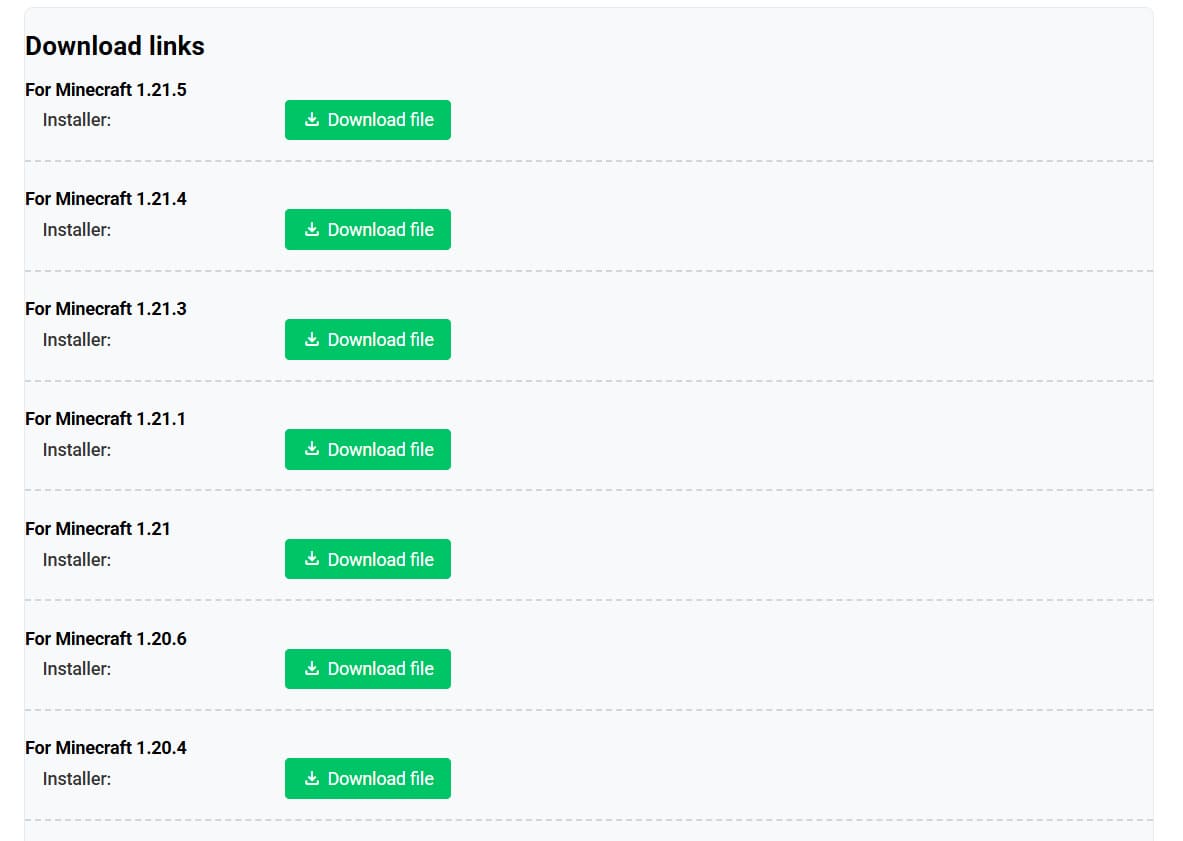
At the bottom of the post, you’ll find the Download Section.
-
Pick the correct mod version — for example, if you’re running Minecraft 1.20.1 with NeoForge, download the 1.20.1 file.
Once you click the download button:
-
A new tab will open.
-
Click Download again to begin saving the
.jarfile to your device.
Step 3: Access the Mods Folder
You can access the mods folder in two ways:
✅ Method 1 – Using the Run Command
- Press
Windows + R - Type
%appdata%→ hit Enter - Navigate to
.minecraft - Look for a folder named
mods
If it doesn’t exist, create one manually: right-click → New → Folder → name it mods

✅ Method 2 – From Inside Minecraft
- Launch Minecraft using the NeoForge installation
- At the main menu, click Mods
- Click Open Mods Folder (bottom-left corner)
Once the folder is open, copy or drag the downloaded .jar file into it.

Option B – Open from Inside the Game:
- Launch Minecraft with the NeoForge profile
- On the main menu, click Mods
- In the Mods screen, click the Open Mods Folder button in the bottom-left corner
- This will open the correct
modsfolder — place the downloaded.jarfile here
Step 4: Install and Activate the Mod
After placing the file in the mods folder:
- Return to Minecraft or restart it if already open
- On the main menu, click Mods
- You’ll now see a list of installed mods
✅ If the mod name appears in bold or without a warning icon, it’s active and ready to use
Some mods don’t require activation — they work automatically if placed correctly. Others may need additional configuration or dependencies (check the mod page on MinecraftTribe for notes).

🎉 That’s It – You’re Ready to Play!
You’ve successfully installed a mod using NeoForge! Now explore your game with new mechanics, creatures, items, dimensions, or UI improvements — depending on the mod you chose.
NeoForge opens the door to many new mods designed for performance and compatibility with the latest Minecraft updates.