If you want to give Minecraft PE a fresh visual upgrade on your iPhone or iPad, installing .mcpack texture packs is one of the easiest ways. The best part? You don’t need a computer or third-party tools — just Safari, the Files app, and Minecraft installed.
In this guide, we’ll show you exactly how to download and apply texture packs step-by-step.
📥 Step 1: Download a Texture Pack (.mcpack)
Go to: 👉MCPE Texture Packs Download
- Browse the texture packs and pick one that suits your style.
- Tap the Download file button for the
.mcpackfile. - Safari will prompt you to download the file — confirm by tapping Download.
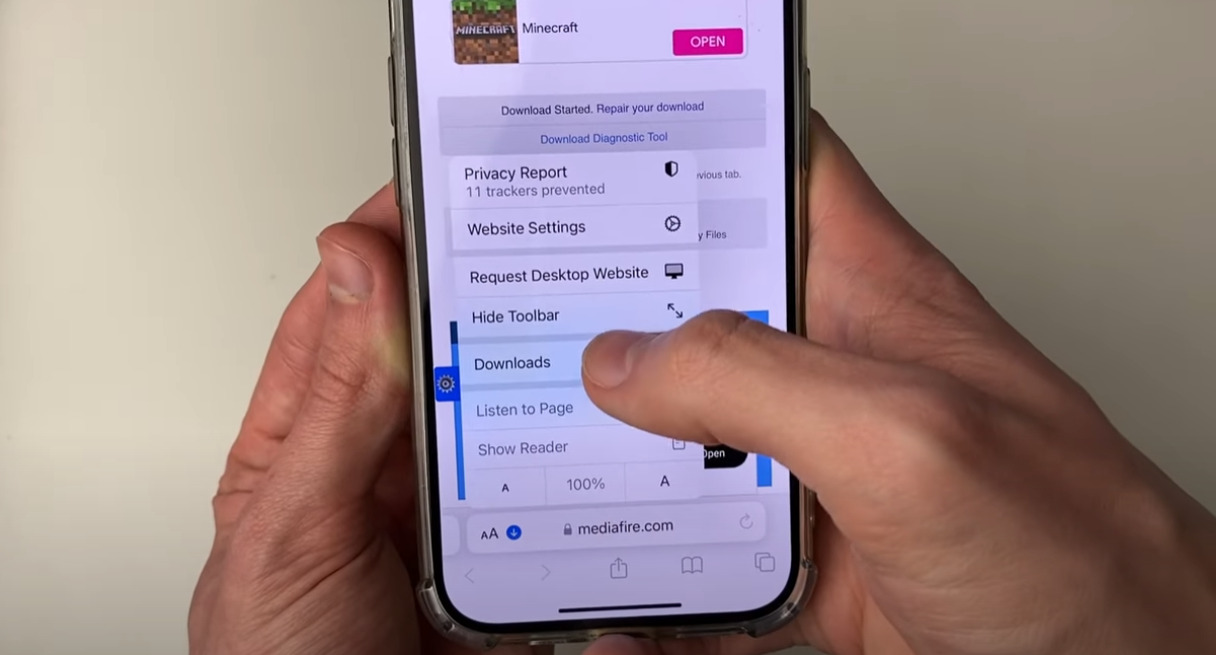
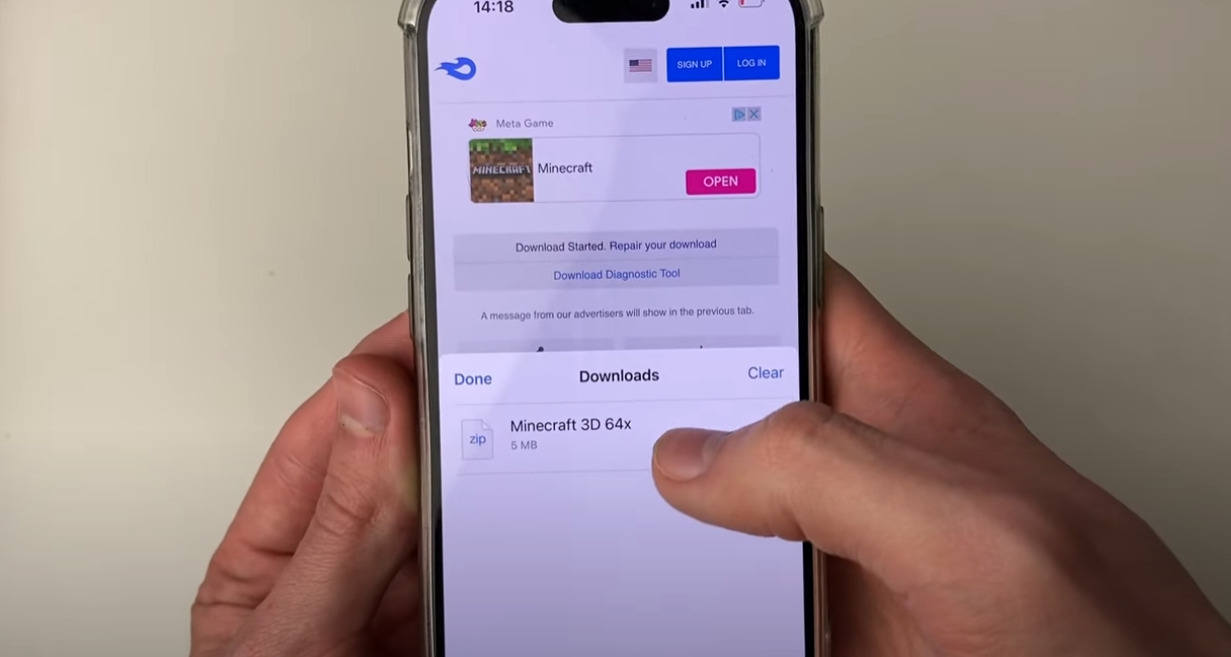
📁 Step 2: Open the Downloaded File in Files App
After downloading:
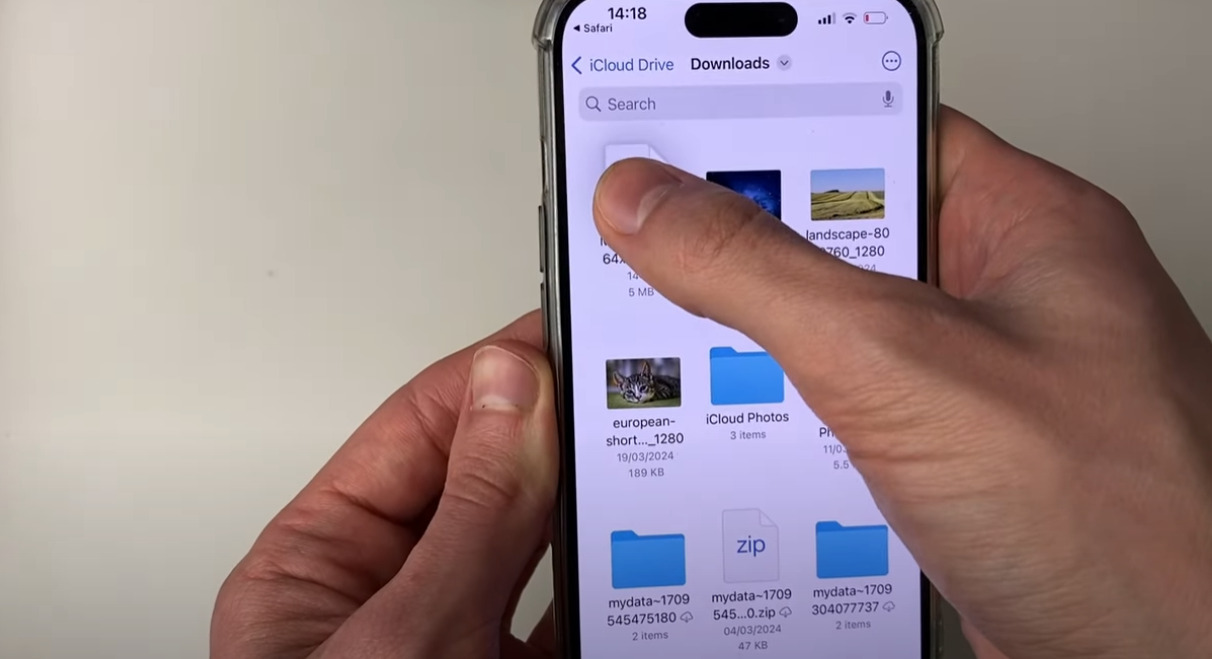
- Open the Files app on your device.
- Navigate to the Downloads folder or iCloud Drive (where the file was saved).
- Locate the texture pack file (e.g.,
TextureName.mcpack).
📤 Step 3: Share the File to Minecraft
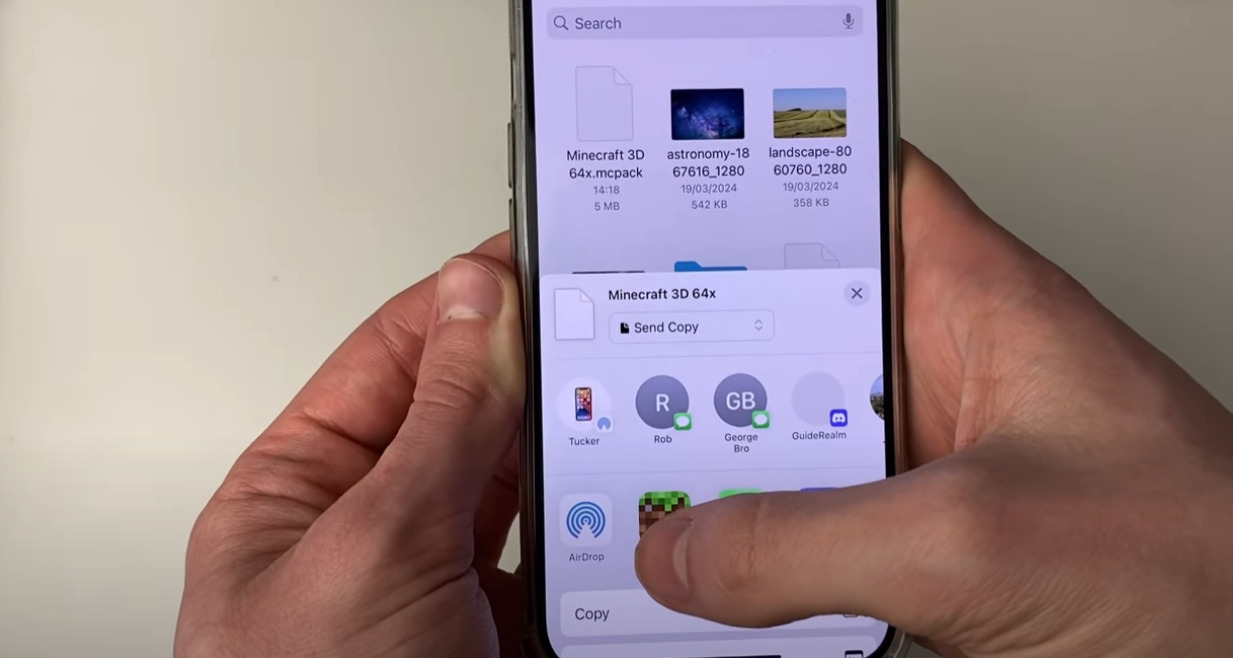
- Tap and hold the .mcpack file until the options menu appears.
- Select Share from the menu.
- In the Share Sheet, look for the Minecraft icon and tap it.
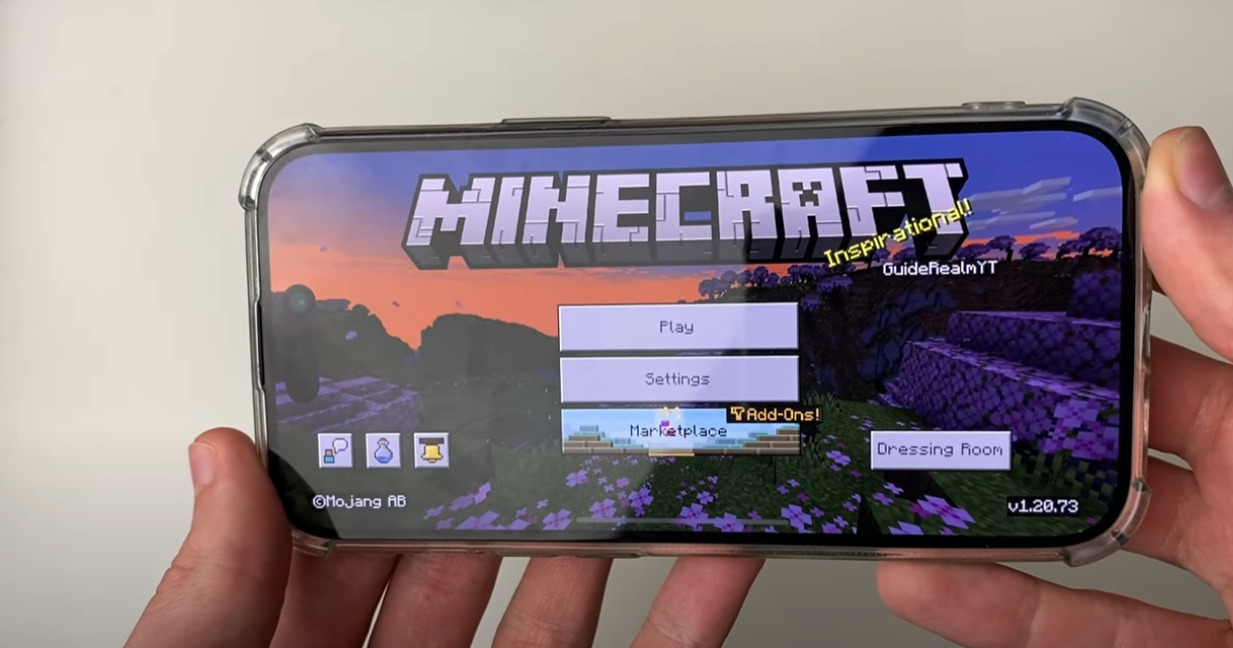
🚀 Step 4: Minecraft Will Automatically Import the Pack
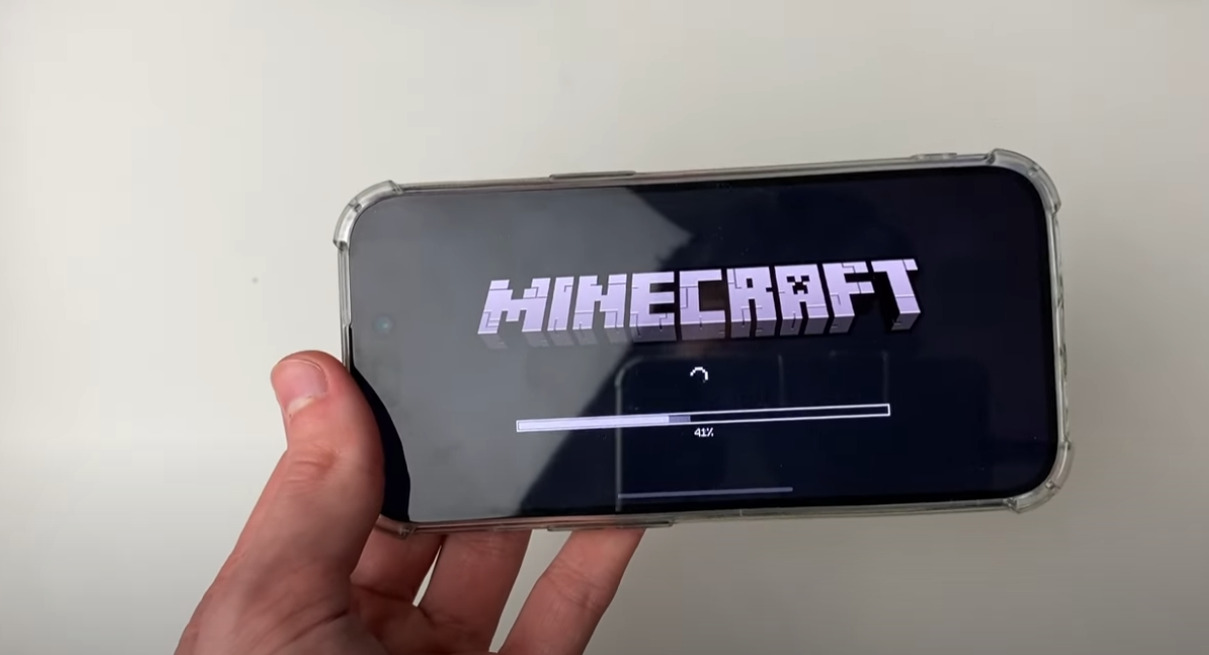
Once you tap the Minecraft icon:
- The game will launch automatically.
- A loading screen will appear showing “Importing…”.
- After a few seconds, Minecraft will confirm the pack has been successfully imported.
🧩 Step 5: Activate the Texture Pack in Settings
To use your new texture pack:
- Go to Settings → Global Resources.
- Tap My Packs to find the newly installed pack.
- Tap Activate.
- Return to the main menu and enjoy your new textures!

✅ Done!
You’ve successfully installed a custom texture pack in Minecraft PE using just your iPhone or iPad. No PC. No complex setup.
📌 Tips:
- This method works for iOS 14 and newer.
- Some
.mcpackfiles may contain both textures and shaders — read the description before downloading.