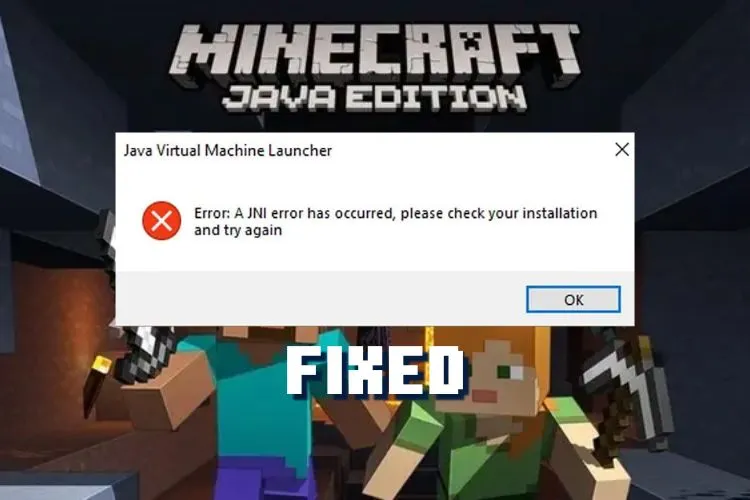
When launching a modded Minecraft instance or setting up a server, you may suddenly encounter the message:
“A JNI error has occurred, please check your installation and try again.”
This error commonly appears in Minecraft version 21w19a and above, particularly with Forge, Fabric, or custom server builds. While it may seem intimidating at first, the fix is relatively straightforward once you understand what’s going wrong.
In this guide, we’ll explain the causes behind the JNI error and walk you through two proven solutions to resolve it.
What Causes the “JNI Error Has Occurred” in Minecraft?
There are two main reasons this error occurs:
1. Incompatible Java Version
Older Minecraft versions—especially before 1.17—were compatible with Java 8 or Java 11. However, newer versions require a newer Java runtime, such as Java 16 or Java 17+. Attempting to launch a modern Minecraft version with outdated Java will cause this JNI error.
2. Corrupted or Incorrect Java Path
Sometimes, even if the correct version of Java is installed, Minecraft can’t detect it properly. This often happens when environment variables (system paths) point to an old or broken Java installation. The launcher gets confused and throws the JNI error.
Solution 1: Install the Correct Java Version
The majority of JNI-related errors can be fixed by updating to the proper Java version. Here’s how to do it safely:
🔍 Note: Close all Minecraft launchers (TLauncher, CurseForge, Prism, etc.) before proceeding.
🔽 Step-by-Step:
- Go to the official Java download page
- Choose the correct installer for your system (e.g.
.exefor Windows) - Run the installer and follow the on-screen instructions
- Complete the installation, then restart your PC
- Reopen Minecraft or your modpack launcher and try again

✅ If you’re running Minecraft 1.18 and above, Java 17 is recommended.
✅ If you’re using older modpacks like Pixelmon (1.12.2), Java 8 may still be required.
Solution 2: Fix or Remove Corrupted Java Path Variables
If updating Java doesn’t fix the issue, the problem may lie in your system environment variables.
Here’s how to manually remove old Java paths from your system:
🔧 Step-by-Step:
- Press
Windows + R, typesysdm.cpl, and hit Enter - In the System Properties window, go to the Advanced tab
- Click Environment Variables
- Under System variables, find and select Path, then click Edit
- Look for any entries pointing to an outdated or broken Java path (e.g.
C:\Program Files\Java\jdk1.8.0_271\bin) - Select the old entries and click Delete
- Click OK to save changes
- Restart your computer and try launching Minecraft again

💡 Removing broken Java paths ensures your system only references the correct Java installation.
Bonus Tip: Set the Java Executable Path Manually
If you’re using a custom launcher (like ATLauncher or Prism), you can often specify the Java path directly:
Example path:
C:\Program Files\Java\jdk-17\bin\javaw.exe
Go into your launcher’s settings, locate the Java executable field, and paste in the path to your correct Java version.
Conclusion
The “JNI error” isn’t a Minecraft bug—it’s a Java configuration issue. Most of the time, it’s simply caused by using the wrong Java version or having old paths left behind. By following the steps above, you can quickly get your modded Minecraft setup running again.
If you continue facing issues after these steps, double-check that:
-
You installed the correct Java version for your Minecraft version
-
No other Java installations are interfering with your system path
-
Your launcher is pointing to the right Java executable
Once resolved, you’ll be able to enjoy your modded worlds with no further interruptions.