🪓 A Proper Start: Your First Hour in Minecraft Survival
Starting a new world in Minecraft can be overwhelming—especially if you’re new or returning after a long break. But with the right steps, you can go from standing barehanded in a strange land to fully geared and confident within your first hour.
Here’s how.
1. The First Tree, The First Tools
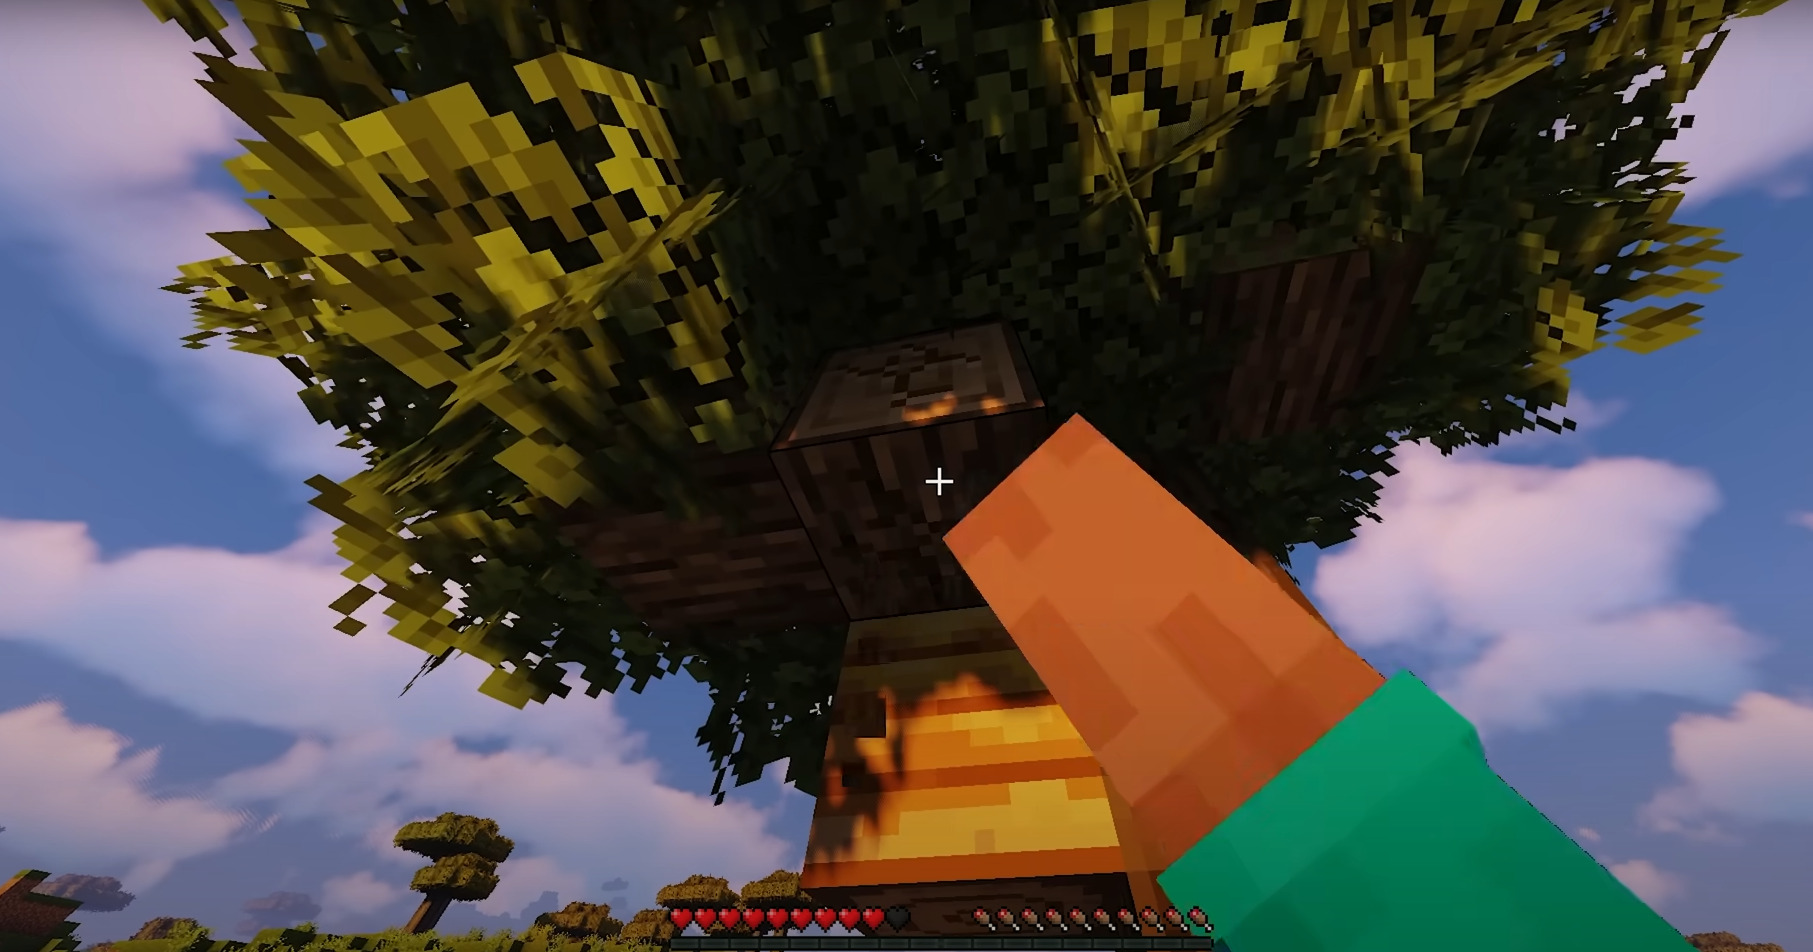
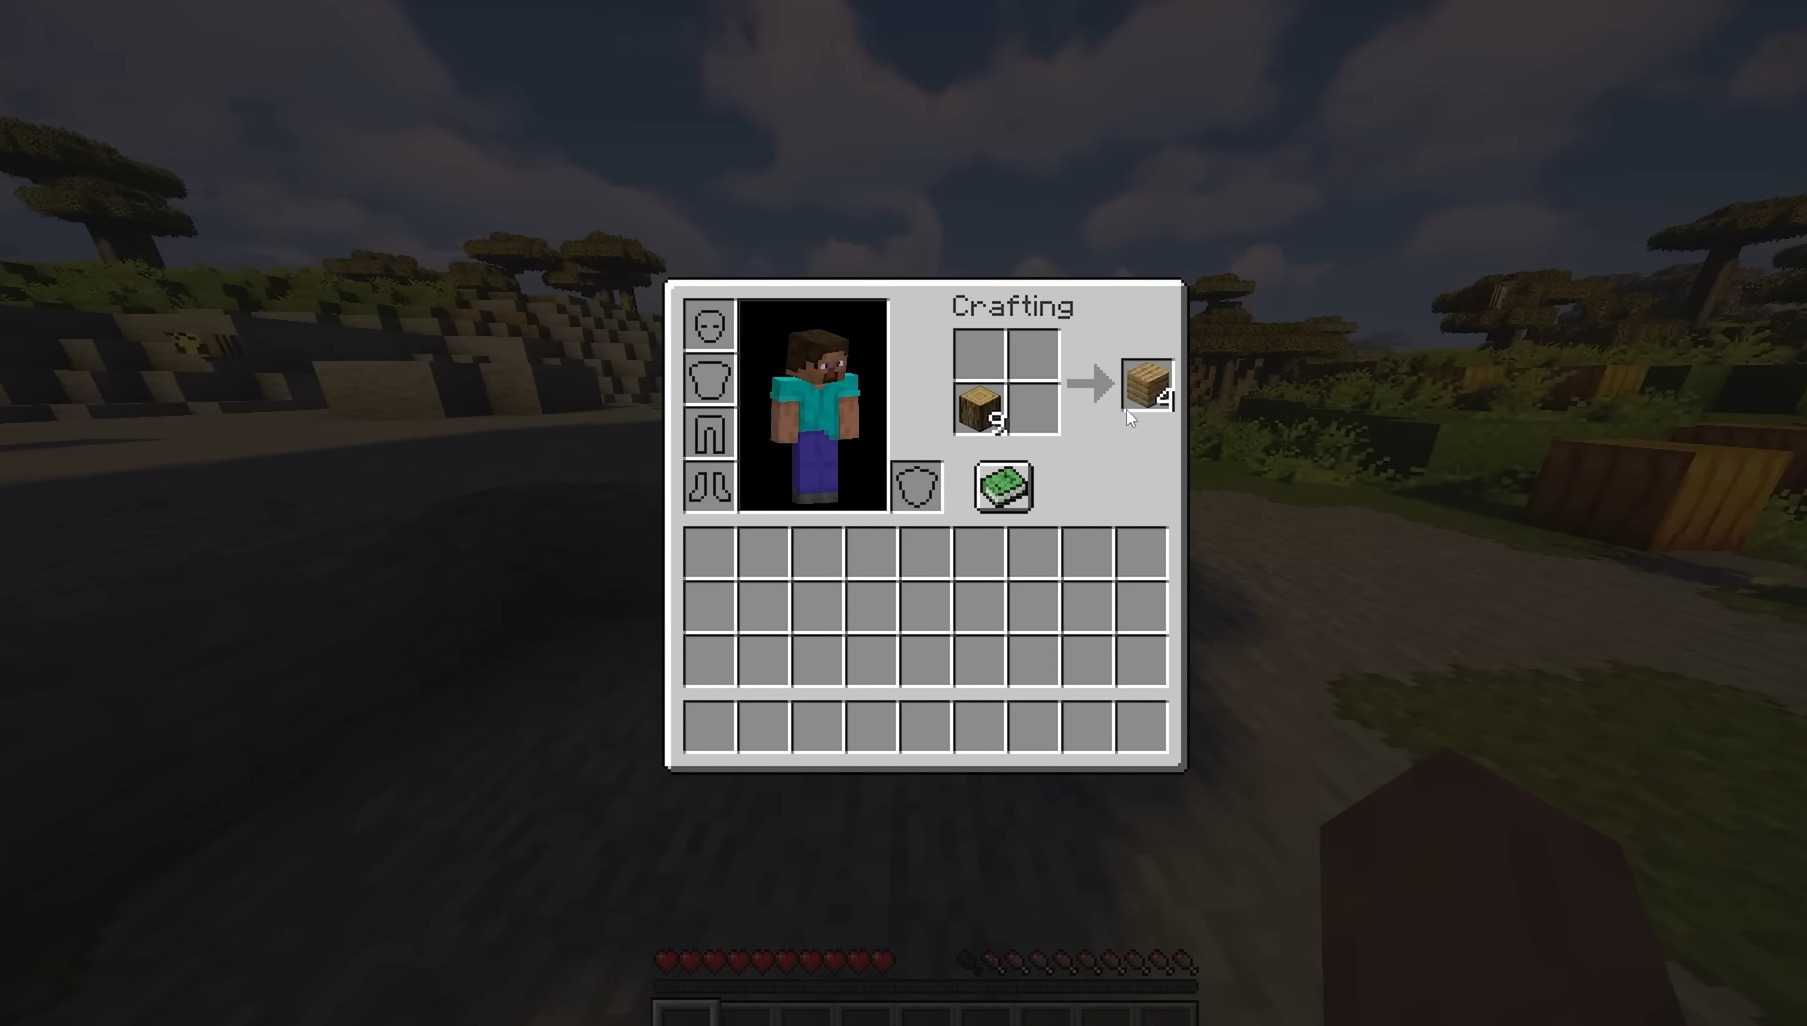
When you spawn in, take a quick moment to assess your surroundings. Look for trees—your first priority is wood. Punch down about 5 to 6 logs, then immediately convert them into planks. From there, craft a crafting table, a few sticks, and your very first tool: a wooden pickaxe.
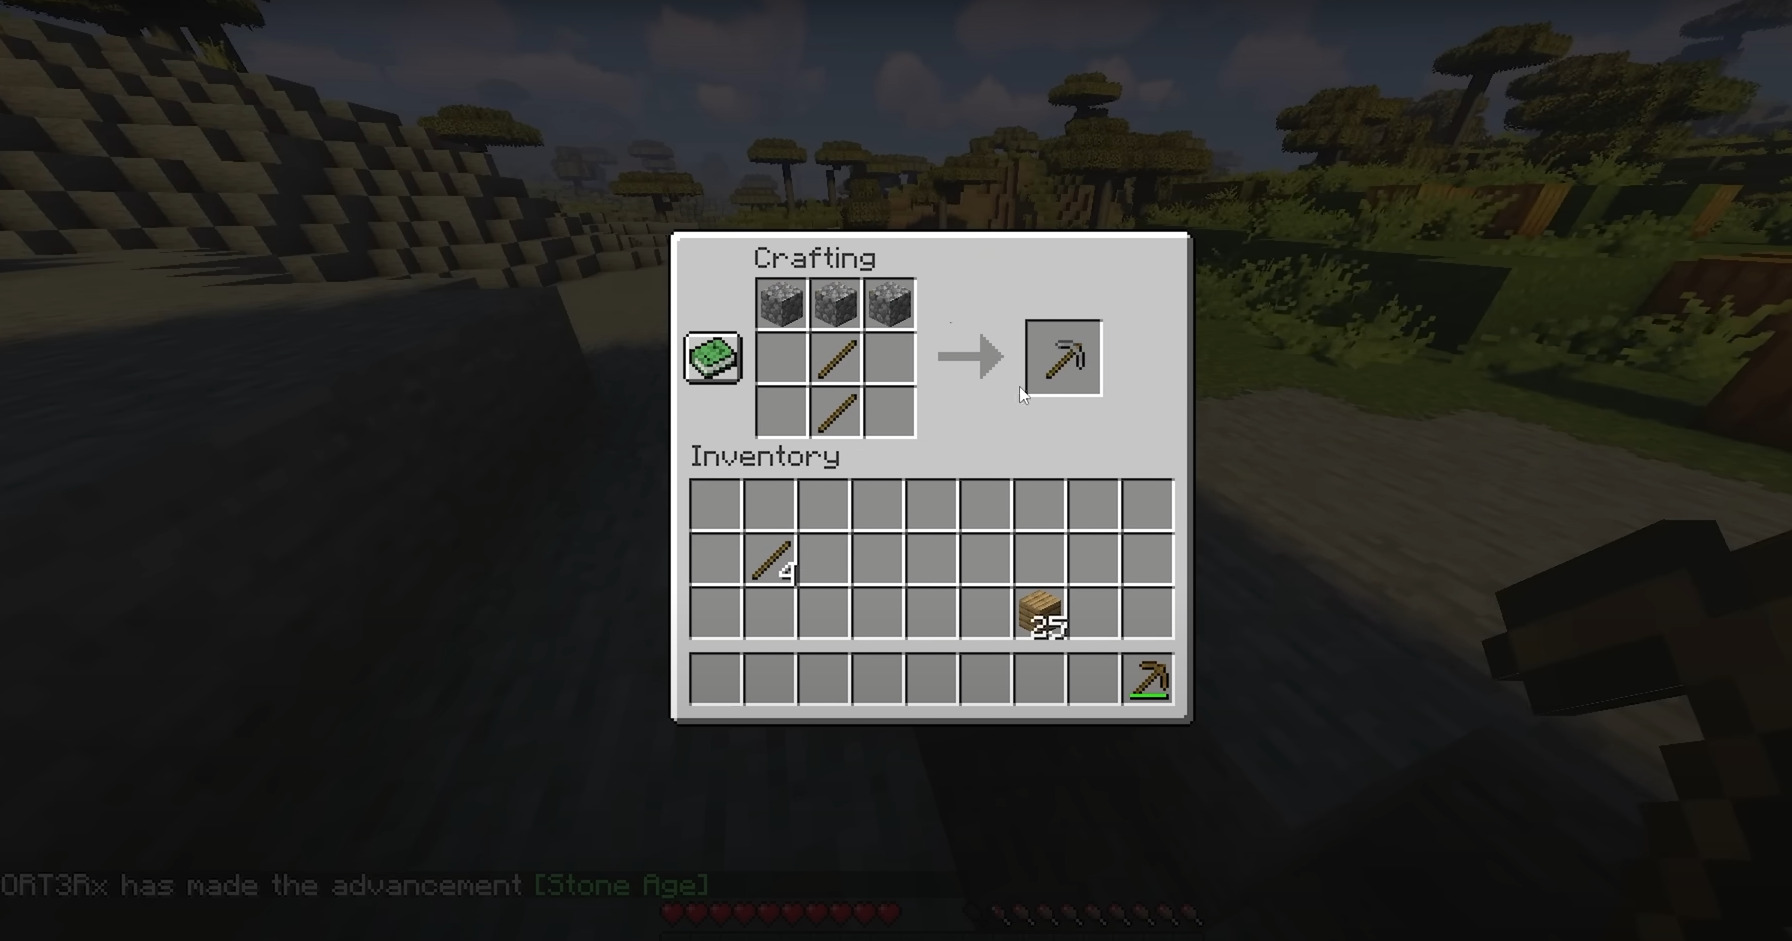
If you see surface stone nearby, head to it. If not, dig three blocks straight down—you’ll likely hit stone quickly. Mine exactly three blocks of stone to upgrade immediately to a stone pickaxe. This upgrade makes your next steps far more efficient.
Now mine 17 cobblestone. That’s just enough for a full set of stone tools: pickaxe, axe, shovel, sword, and a furnace.
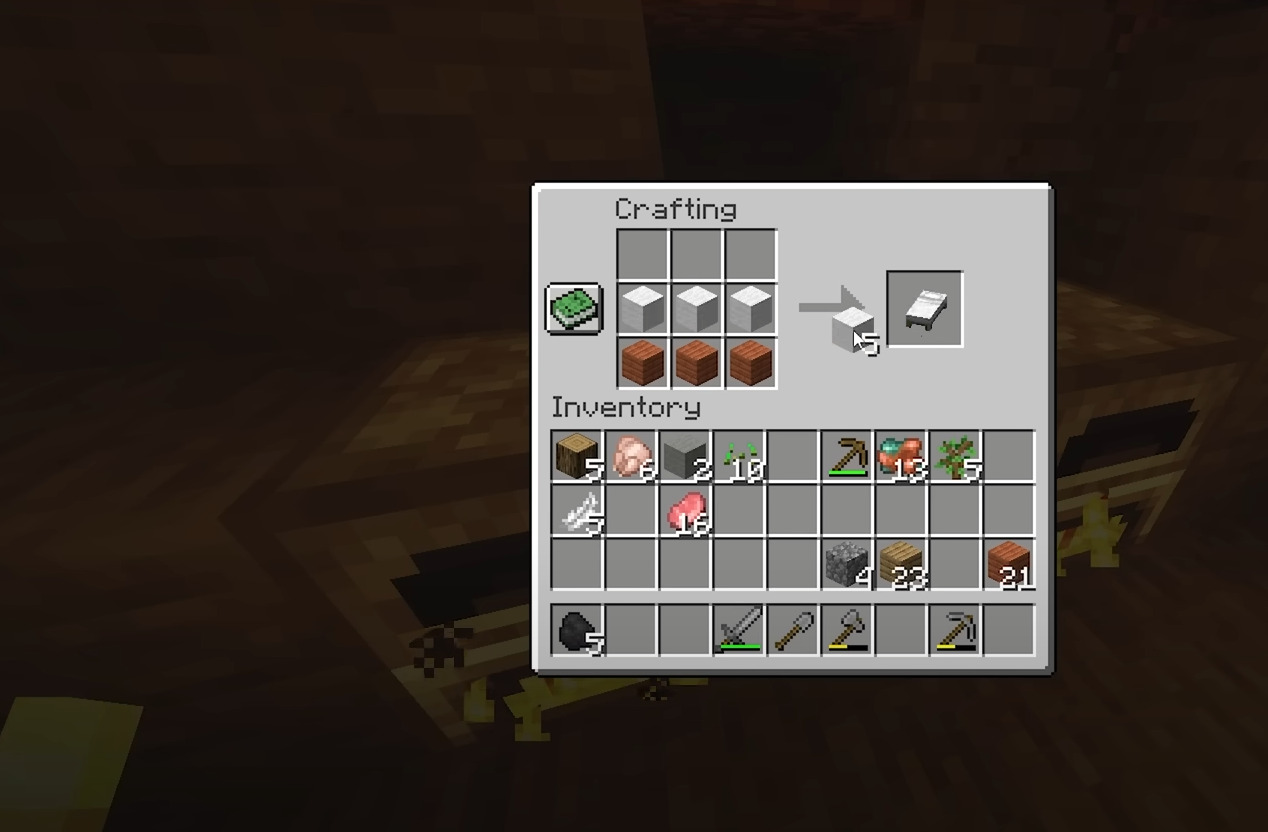
2. Securing a Bed and Food
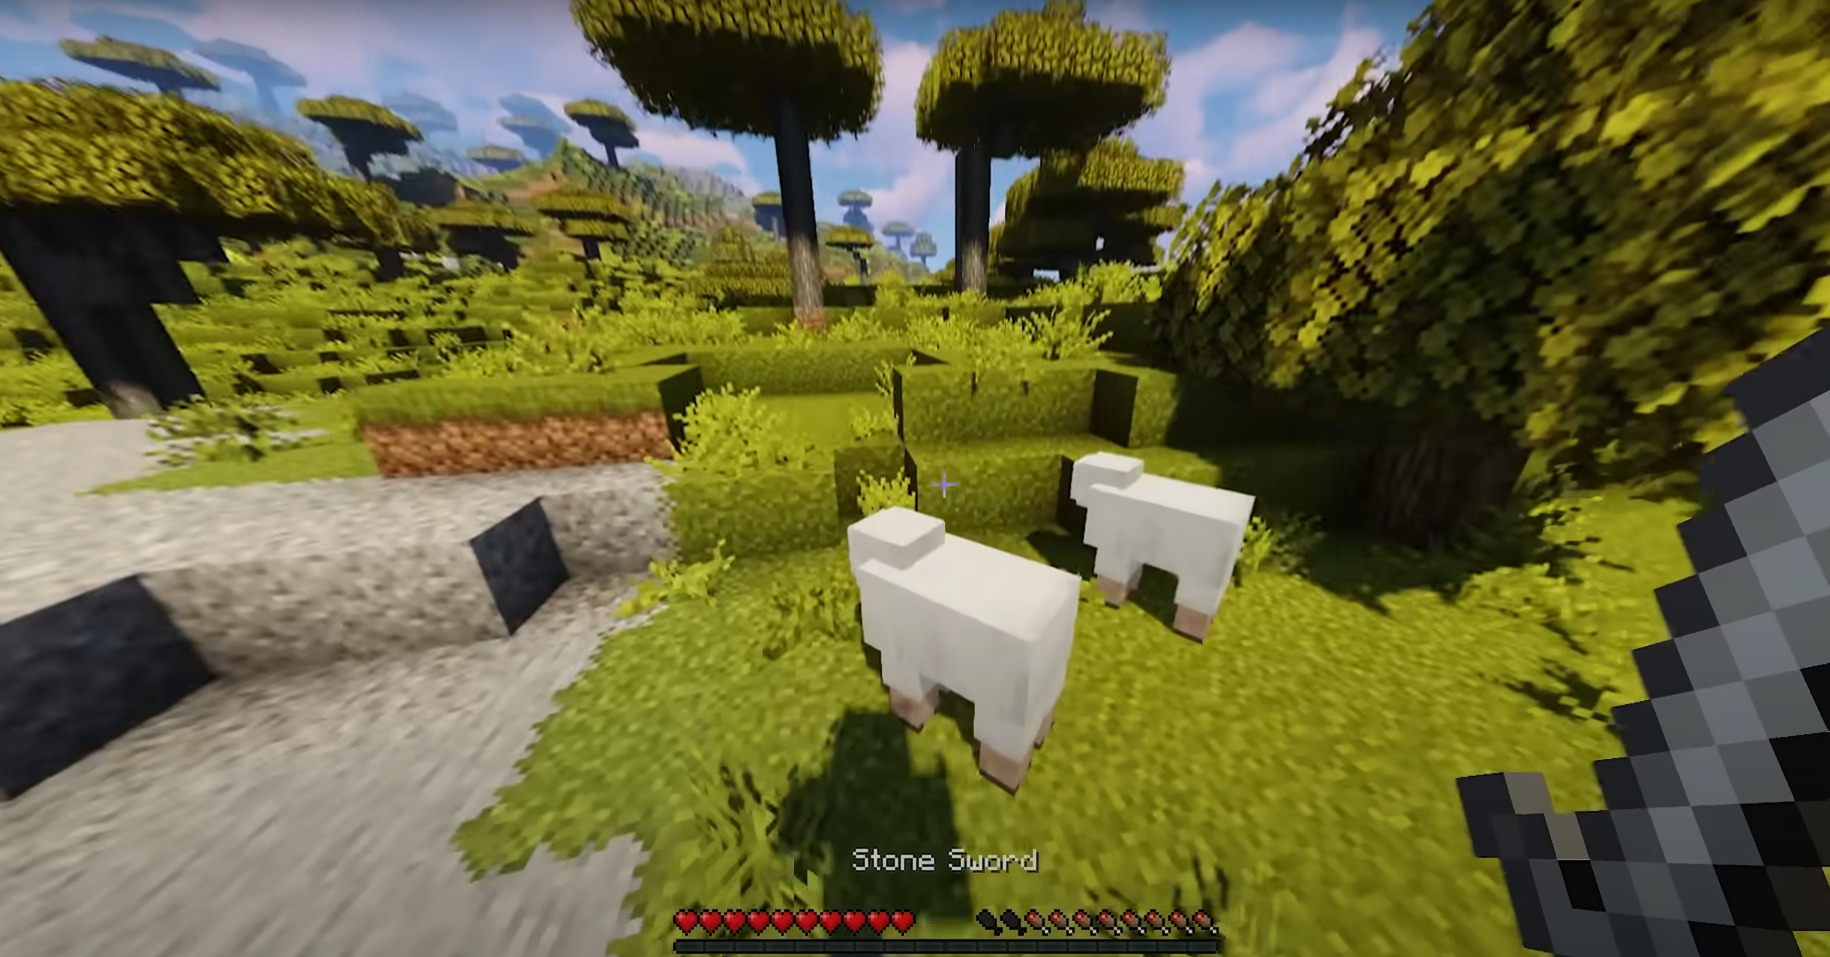
Once your tools are ready, your next goal is wool for a bed. Finding sheep early can make a big difference—sleeping on your first night skips the dangers that lurk after dark.
Use your axe to hunt them down efficiently. Jumping before striking ensures a critical hit, letting you take them out in a single blow. While you’re at it, collect their meat too.
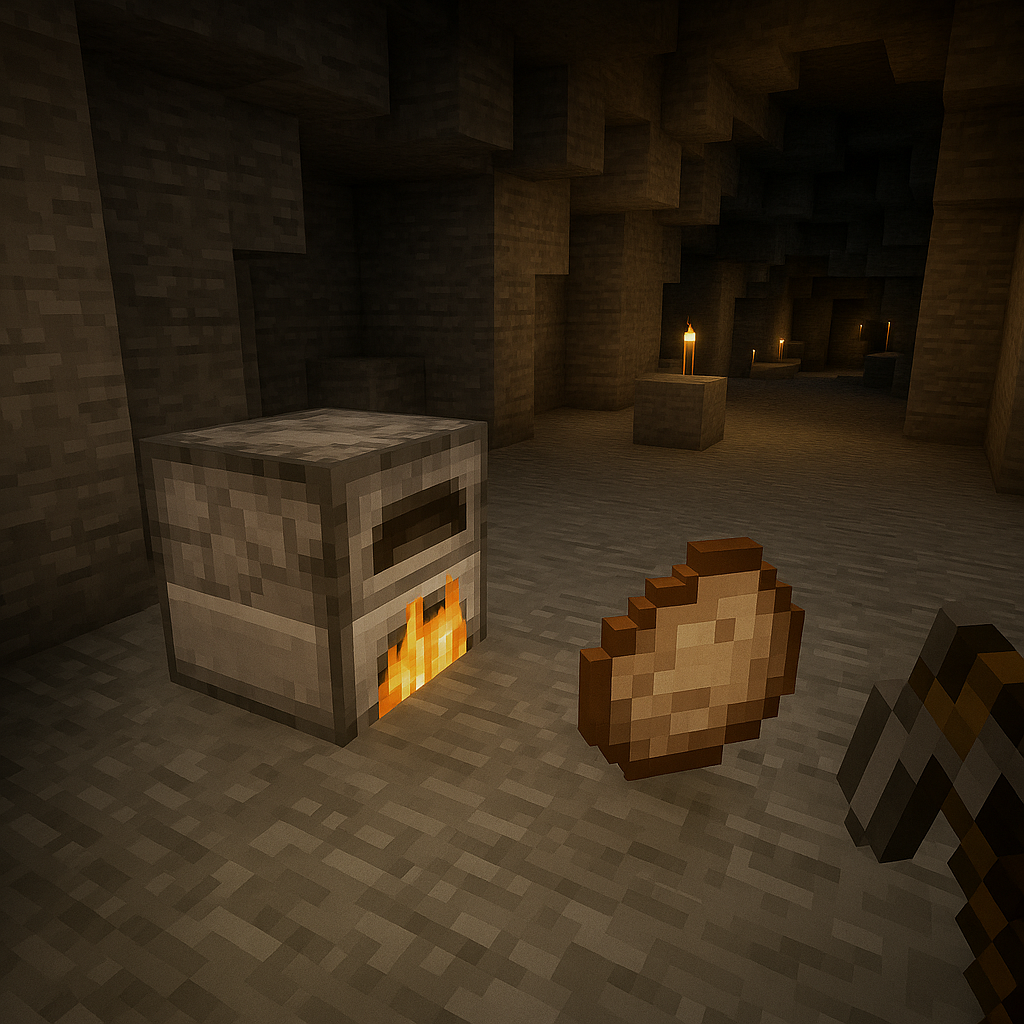
If trees are nearby, gather some extra wood. And if you find coal exposed in stone, mine it—it’s essential for cooking and torches. Start smelting food in your furnace while continuing to gather more materials around you.
Efficiency is key: cook while you mine. Always keep moving, always be gathering.
3. Collecting Seeds and Staying Productive
As you move between locations, punch tall grass to collect seeds. You’ll use these later to start a wheat farm—an excellent long-term food source. It might seem minor, but small steps like this build momentum for your survival.
By now, you should have food, a bed, and some tools. It’s time to step things up.
4. The Hunt for Iron
Iron is crucial. With the 1.19 update, iron spawns either high in the mountains or deep underground. The best strategy early on is to climb nearby hills or look for caves near mountaintops.

Stay alert—on the way, continue harvesting animals for meat and leather. If you spot a ravine or exposed stone, investigate. Even if it seems like a dead end, it might lead to a rich pocket of resources.
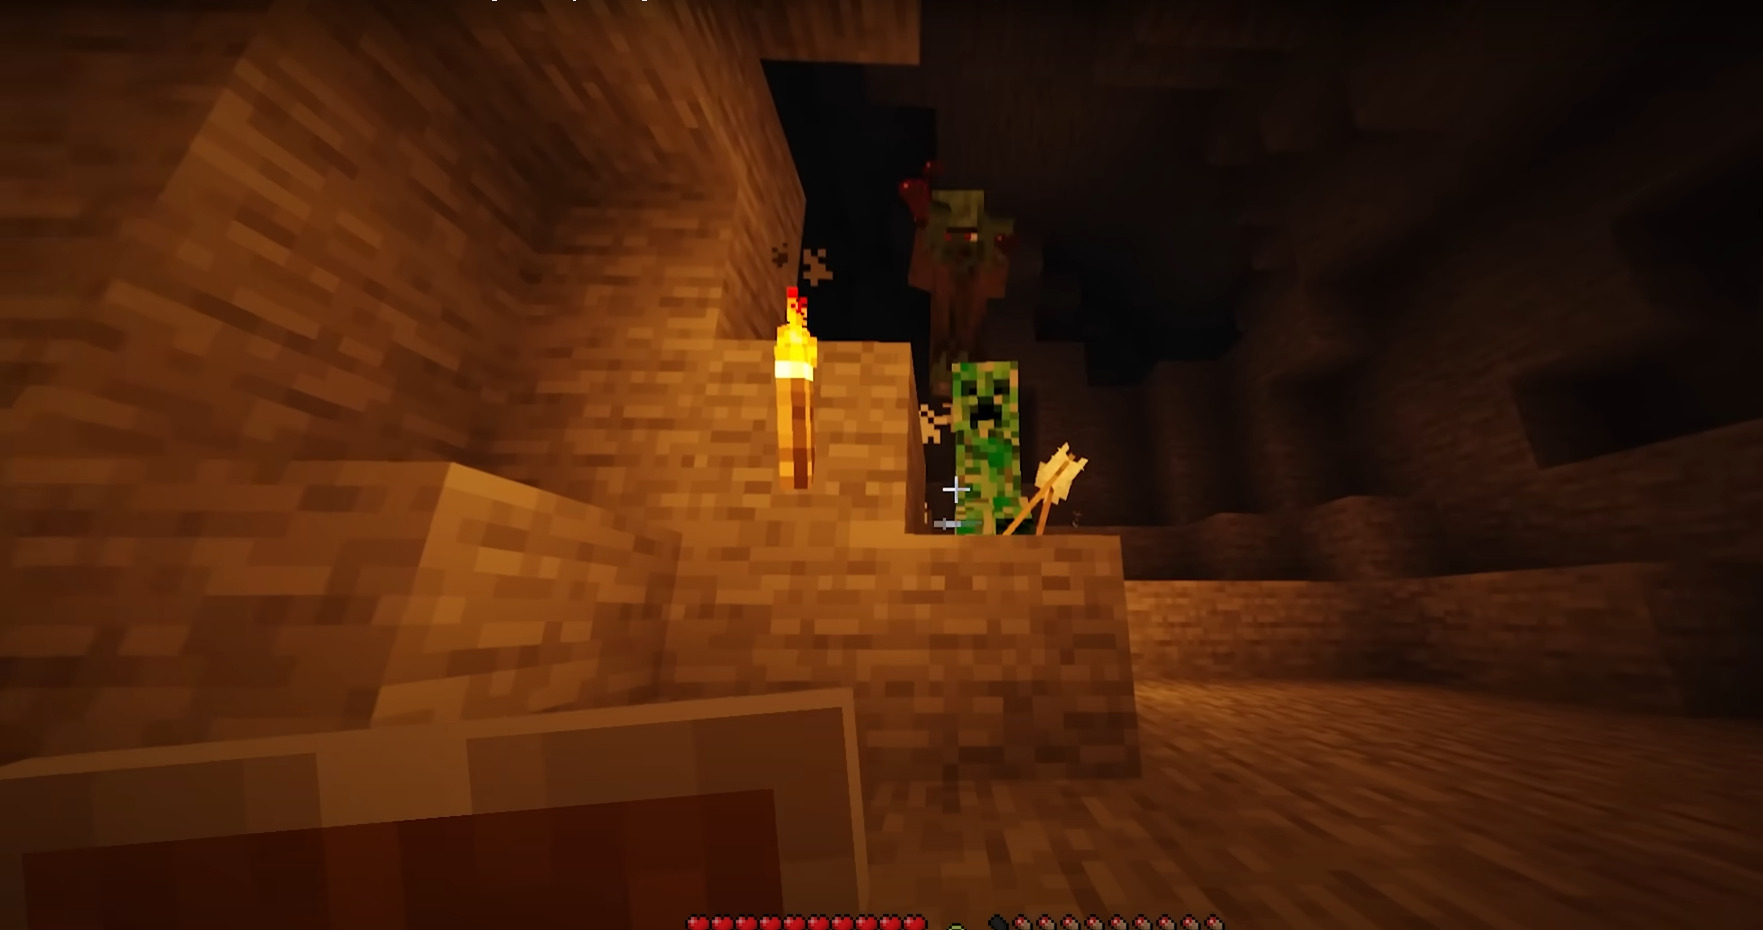
5. Into the Caves
Eventually, you’ll find a decent cave. Equip torches in your off-hand, your axe in the main hand, and move cautiously. Always light the paths you travel and block off any dark routes that mobs might come from.
Smelt iron as you gather it. Keep your furnace running as you explore—it’s all about doing more in less time.
Your first crafted iron tool should be a shield. Shields are incredibly powerful and often more valuable than armor early on. Follow it up with an iron pickaxe to prepare for diamond mining.
6. Listening Leads to Loot
If a cave goes quiet, don’t stop. Use sound to your advantage—listen for skeletons, zombies, or flowing water. Often, they’ll lead you to another cave system hidden nearby. Dig carefully toward the sound.
And when you find more enemies grouped up, use a creeper explosion to your advantage. It’s risky, but it can wipe out mobs quickly and give you breathing room.
7. Strip Mining and Diamond Dreams
Once your current cave runs out, you have options: head back or dig deeper. A safe way to mine downward is by standing between two blocks and digging them alternately. This keeps you from falling into danger.
At around Y-level -57, start strip mining. With some luck, you’ll strike diamonds quickly. Mine only enough for a pickaxe and enchantment table (you’ll need five). Save the rest for later—once you have Fortune, your diamond yield will multiply.
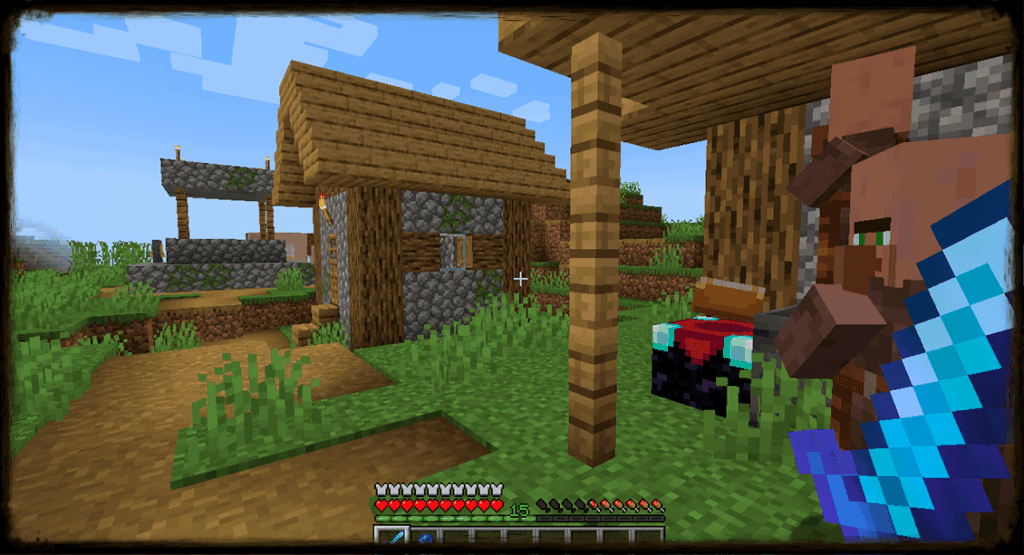
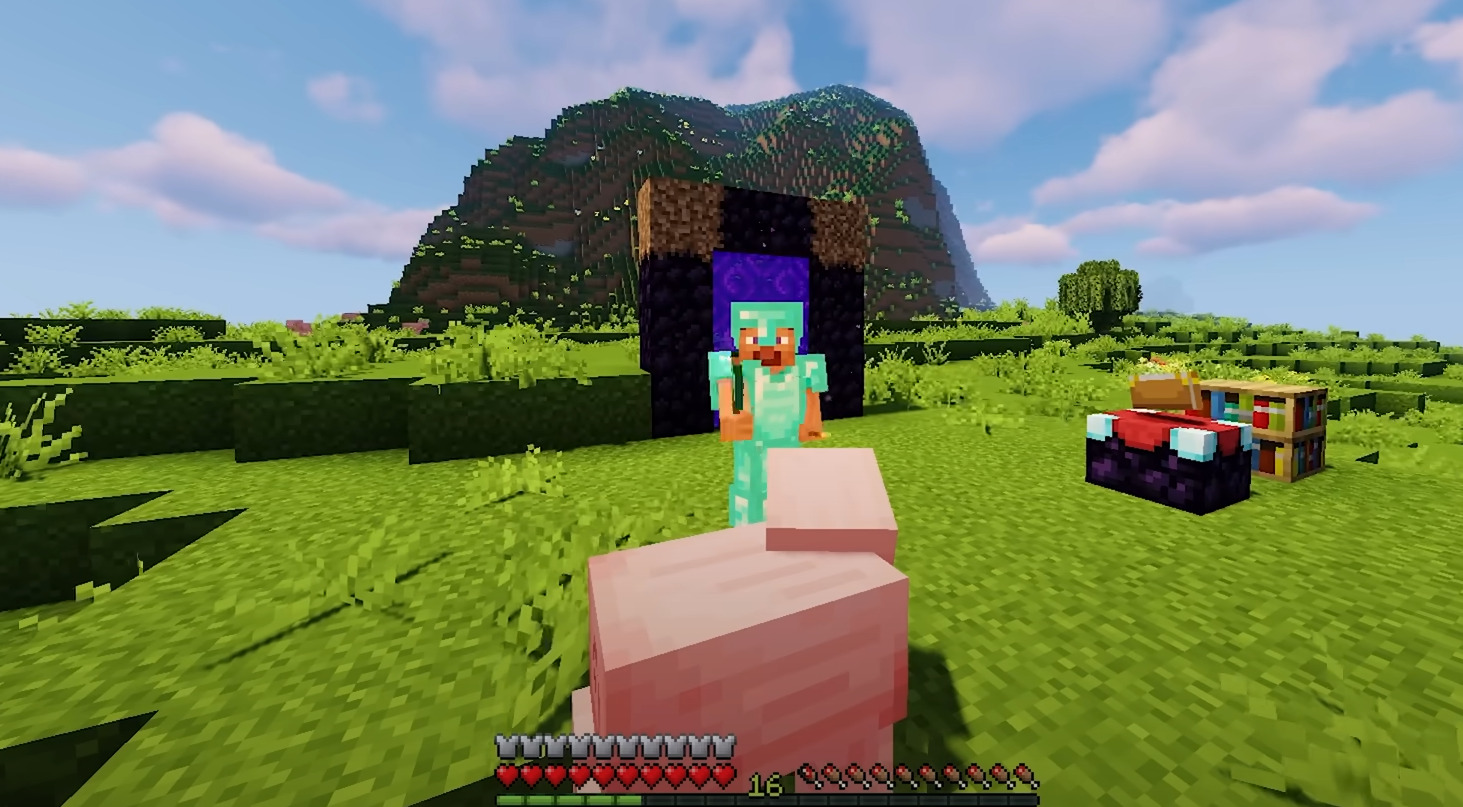
8. Village Visits and Enchantment Prep
Before enchanting, you’ll need obsidian and books. Obsidian is found near lava—make sure to place water nearby to avoid losing any. Once you have enough, head to the surface.
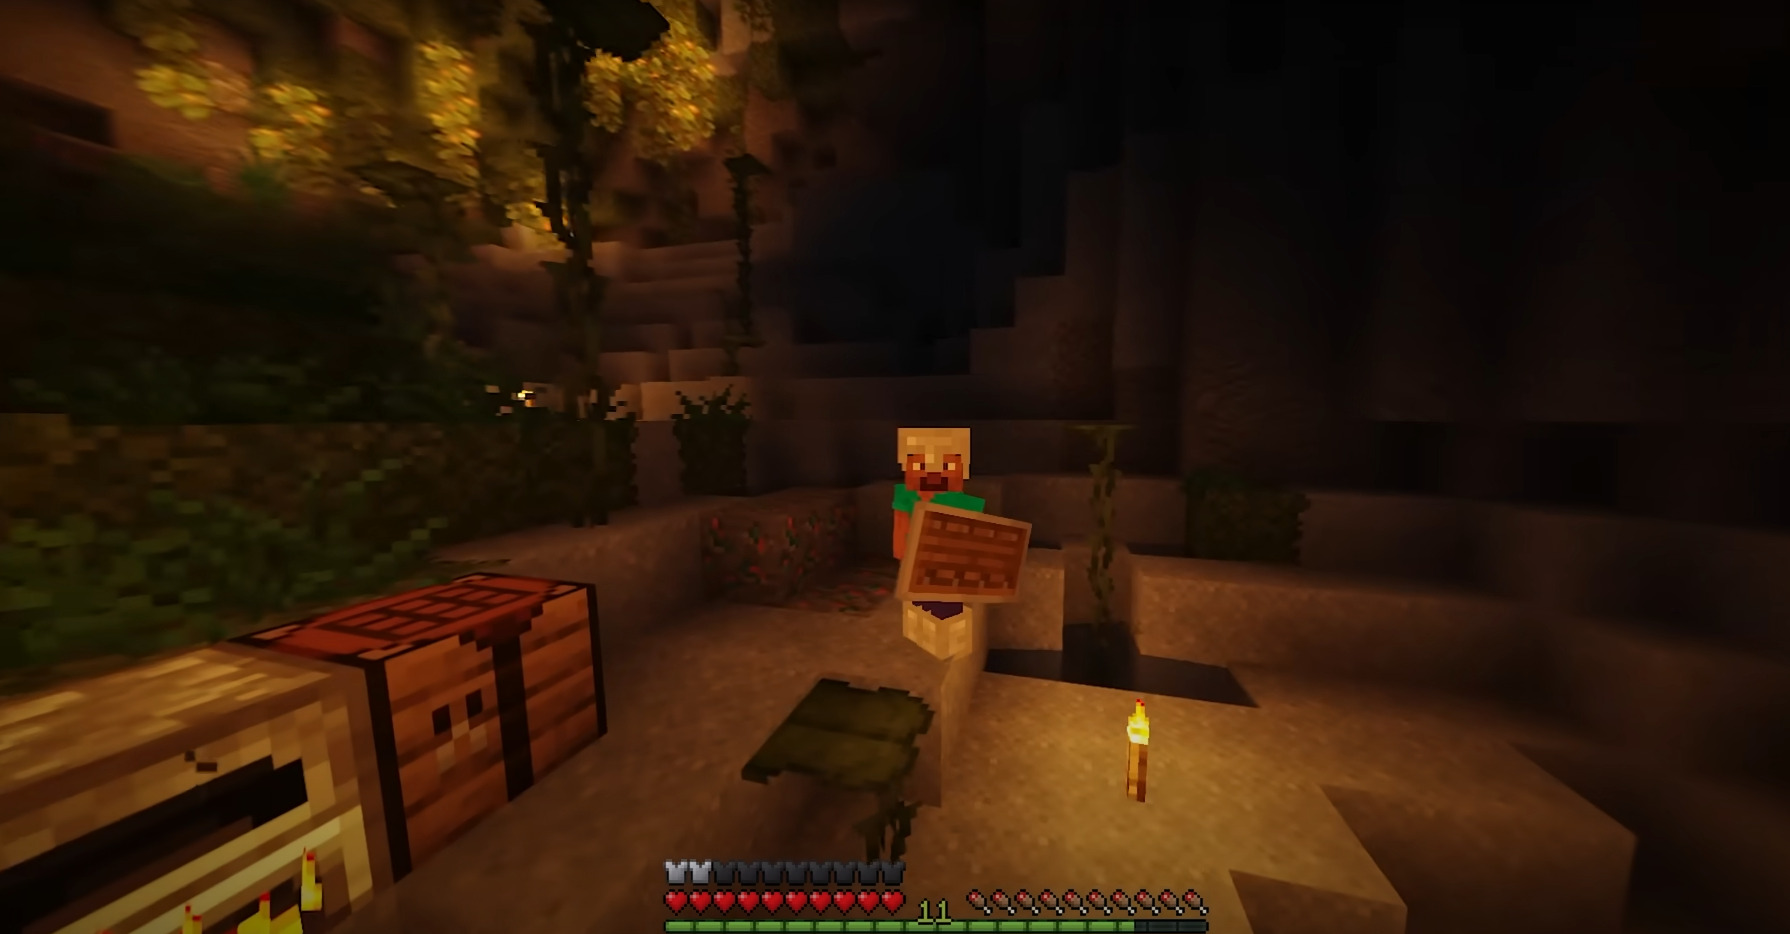
If you stumble across a village, take advantage of it: gather food, loot blacksmiths, and trade if you can. Craft your enchanting table and bookshelf, and enchant your pickaxe with Fortune if possible.
Return to your diamonds—mine them now for maximum value.
9. The First Portal and Ironclad Progress
With 10 obsidian, you can now build a Nether portal. Don’t go in just yet, but having it ready is a sign you’ve hit the next stage of progression.
Craft your first diamond armor or tools with the diamonds you collected. With full iron gear, food reserves, coal, and enchanted tools, you’ve built a powerful start to your survival world.
🧭 Final Thoughts
Within your first hour, you’ve accomplished a lot:
- Full set of stone and iron tools
- Reliable food and coal source
- A bed to skip the night
- Enchanted diamond gear
- Access to the Nether
It’s not just about speed. It’s about smart choices, constant productivity, and making the most of every moment.
Now that the basics are secured, the real journey begins: exploring, building, trading, and shaping the world into your own story.