Survived your first night? Great! Now it’s time to gear up, gather better resources, and set the foundation for long-term survival.
If you followed our cave shelter strategy in Day 1 in Minecraft, you already have basic tools, a safe place, some food, and maybe even a few torches. Day 2 is all about upgrading, exploring, and expanding — this is where Minecraft starts to open up.
Here’s exactly what to do on Day 2 to get ahead and stay alive.
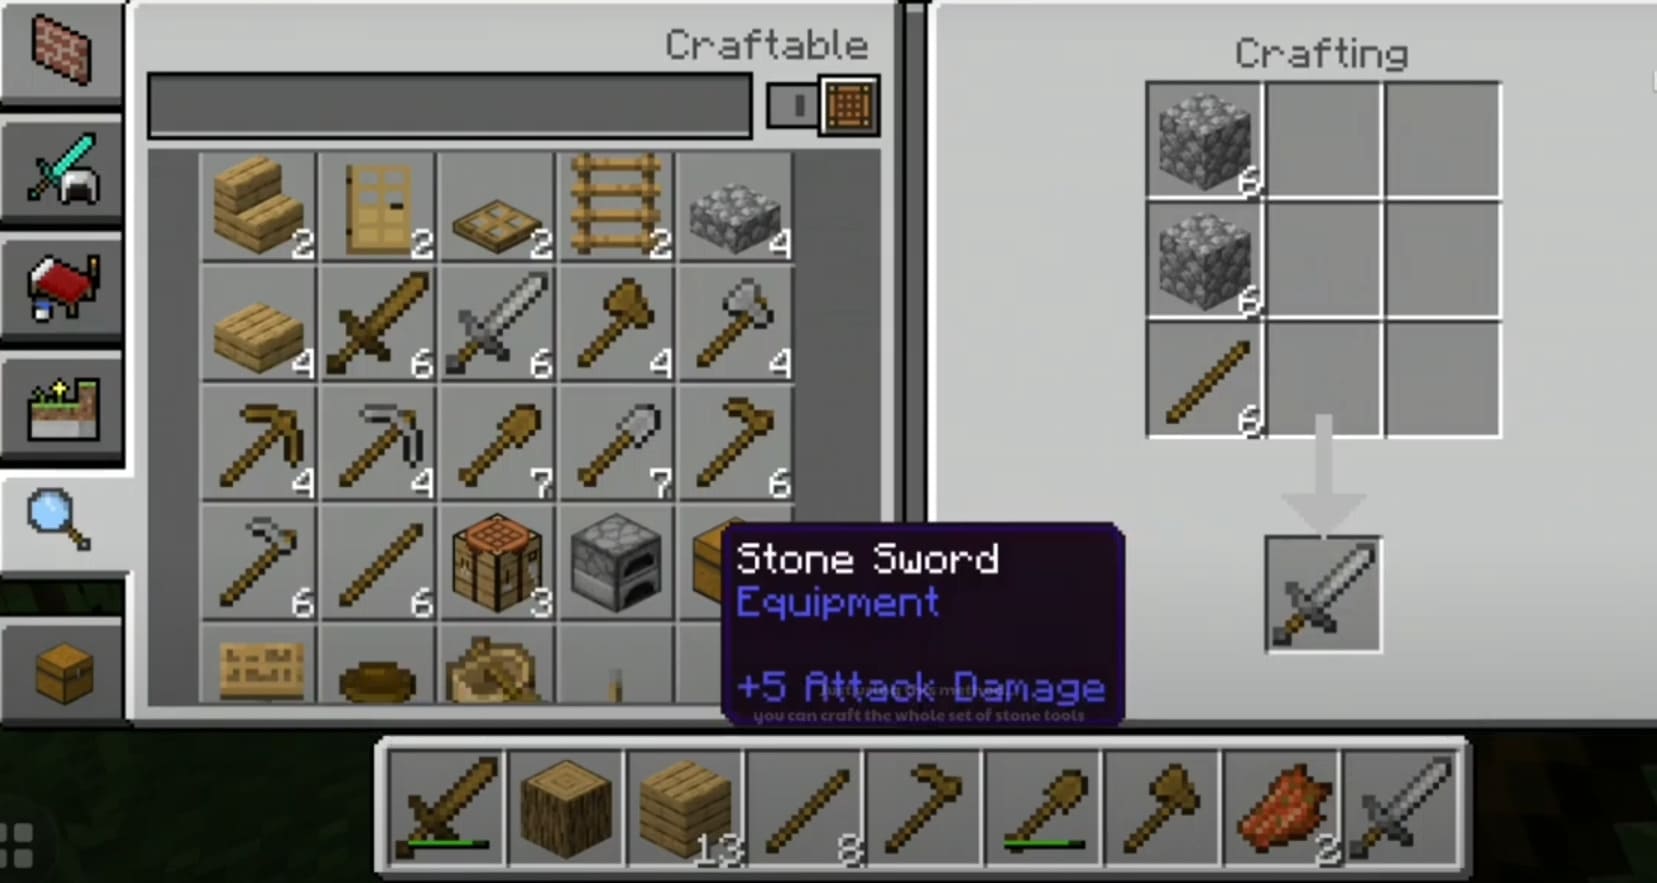
⛏️ Step 1: Upgrade to Stone Tools (If You Haven’t)
If you’re still using wooden tools — time to toss them. They break fast and are painfully slow
- Mine cobblestone from your cave wall or nearby rock.
- Craft a:
- Stone Pickaxe
- Stone Axe
- Stone Sword
- Stone Shovel (optional)
This will let you:
- Mine coal and iron
- Fight mobs more effectively
- Chop wood faster for future builds
🪓 Step 2: Gather More Wood, Coal, and Food
Even if you survived Day 1, your supplies are probably low. Spend the morning:
- Chopping down more trees (get at least 30 logs)
- Collecting saplings, sticks, and apples
- Killing a few more animals for raw meat
- Searching for surface coal (black-speckled stone)
🧠 Pro Tip: If no coal is visible, dig a stair-shaped tunnel downward until you find some. Bring torches with you.
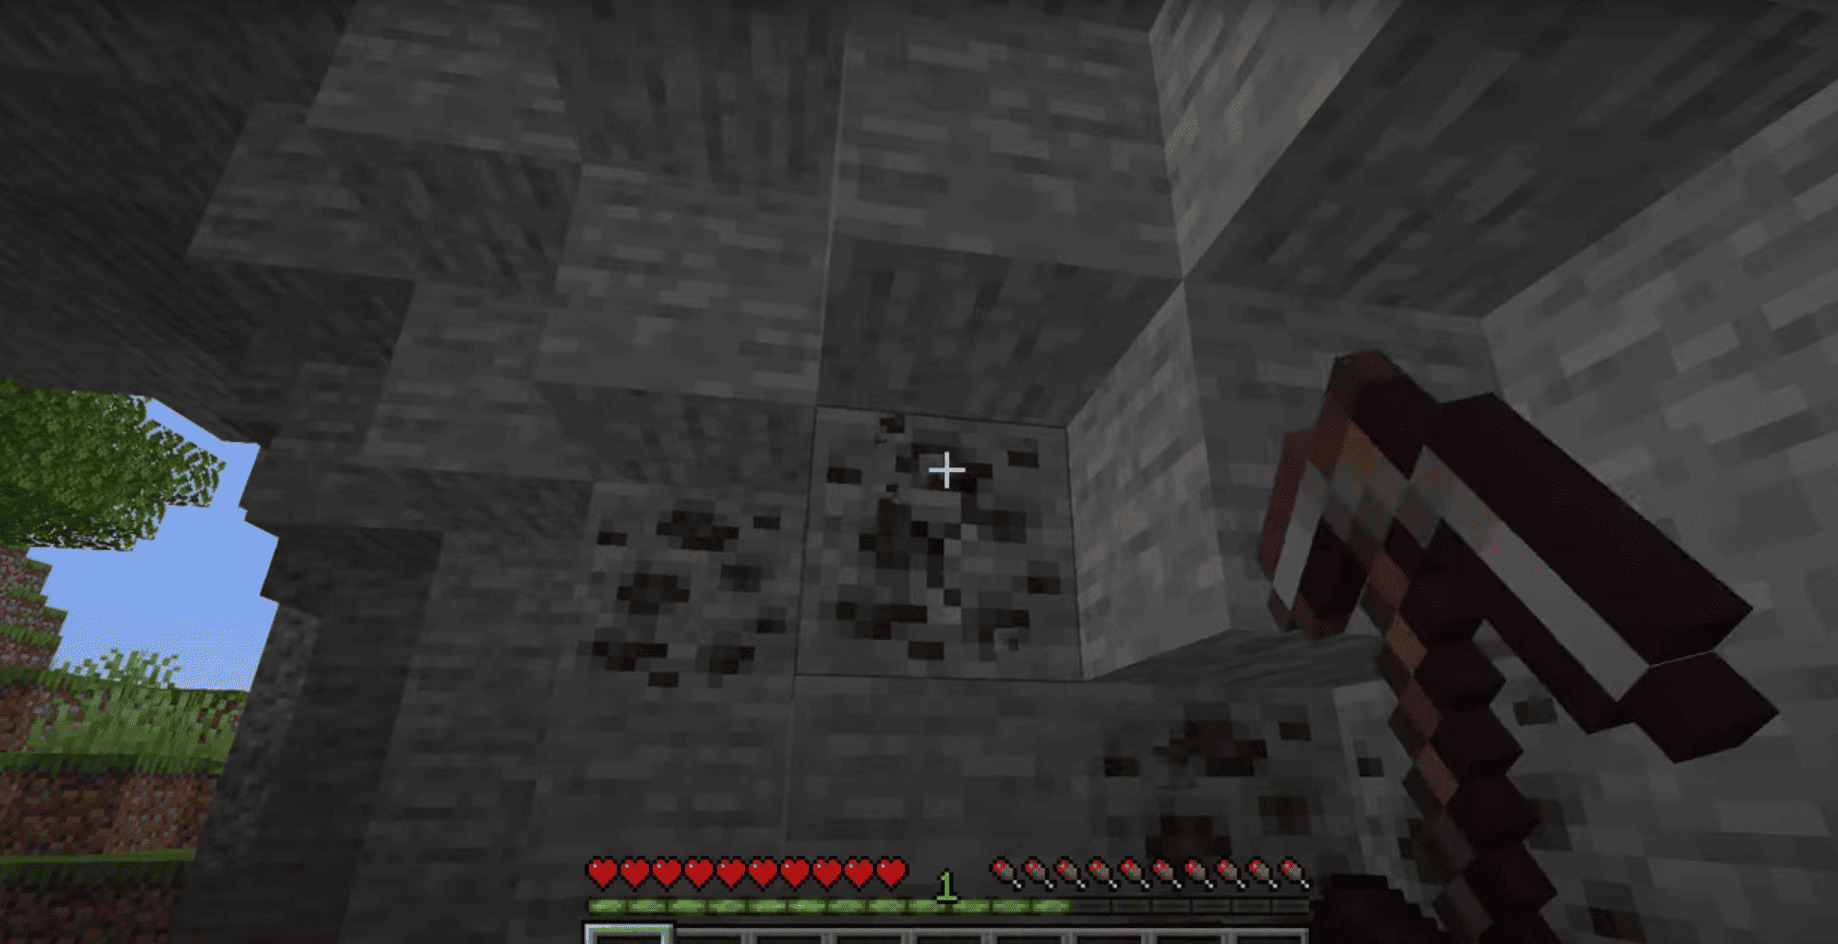
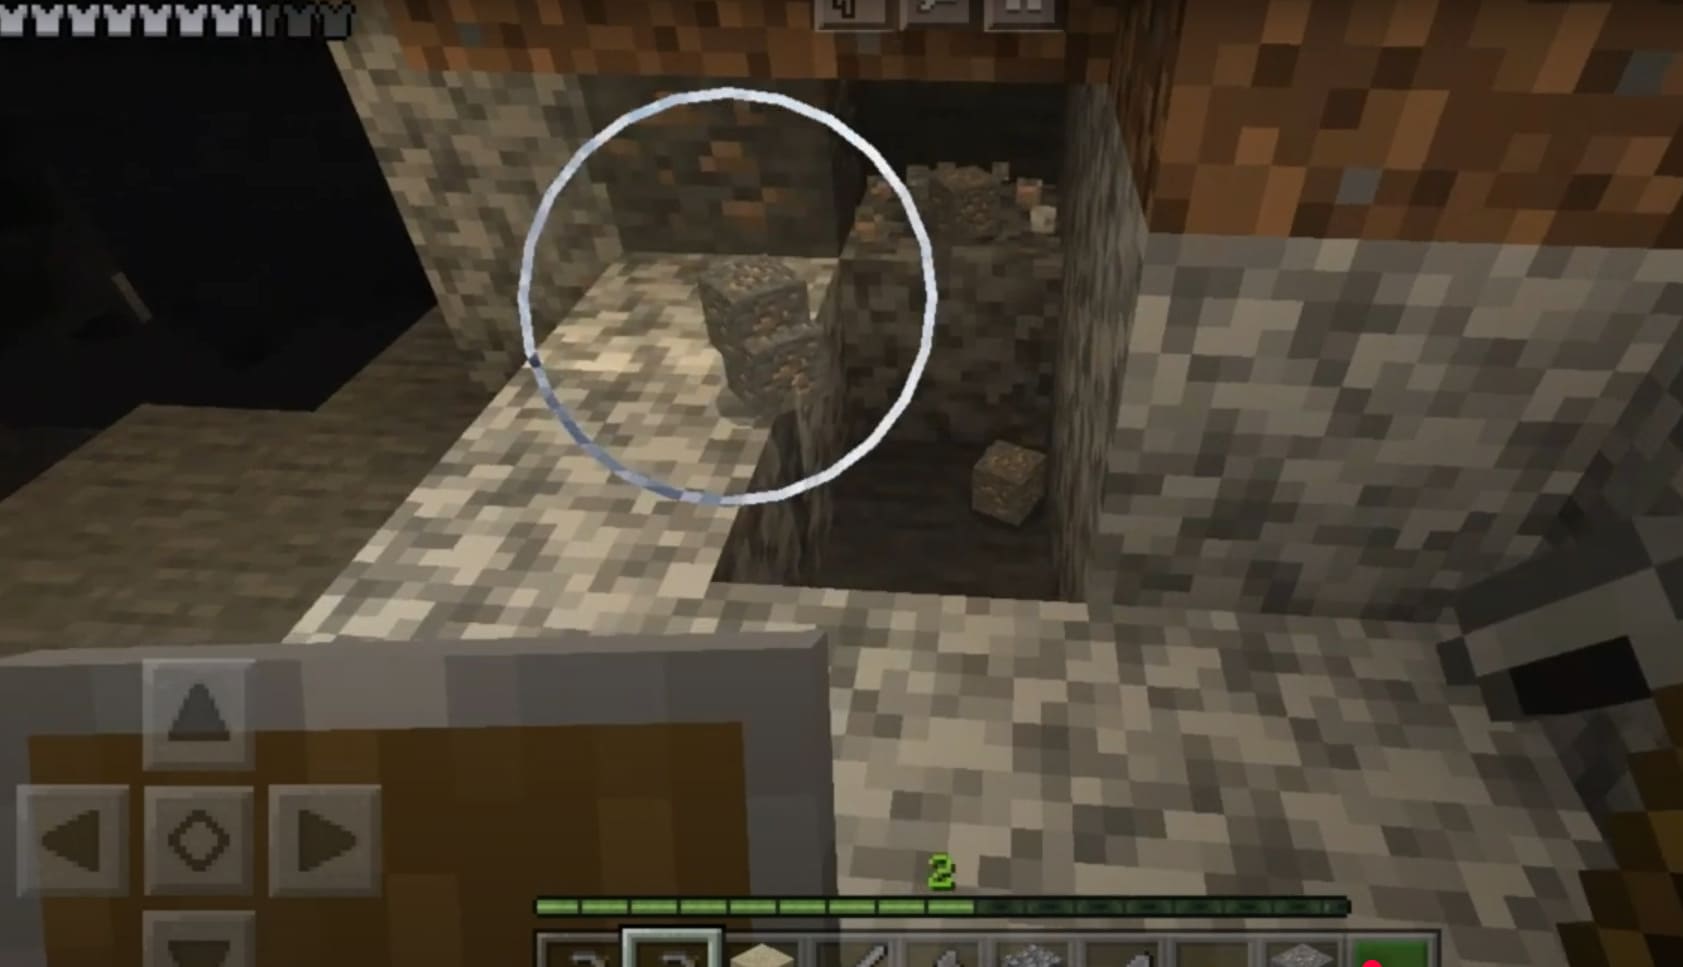
🧲 Step 3: Find and Mine Iron Ore
Your big goal for Day 2 is to find iron — the game-changing resource that unlocks armor, better tools, and a bucket.
- Iron ore is found underground, usually at Y-level 16 to 54 in Minecraft Bedrock.
- You can often find it in:
- Small caves near your spawn
- Behind coal veins
- Deeper in your mining tunnel
When you find it:
- Mine with a stone pickaxe (wooden won’t work)
- Smelt it in your furnace → get iron ingots
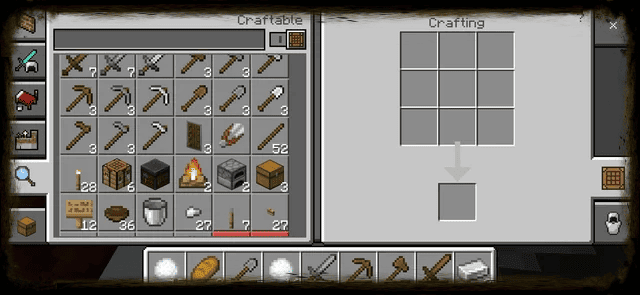
🛡️ Step 4: Craft Key Iron Items
With your new iron ingots, craft:
- Iron Pickaxe – needed to mine diamonds, redstone, etc.
- Iron Sword – much stronger than stone
- Shield (Java only) – great defense
- Bucket – useful for water/lava and future farming
Don’t waste your first few iron ingots on armor yet. Focus on utility items first.
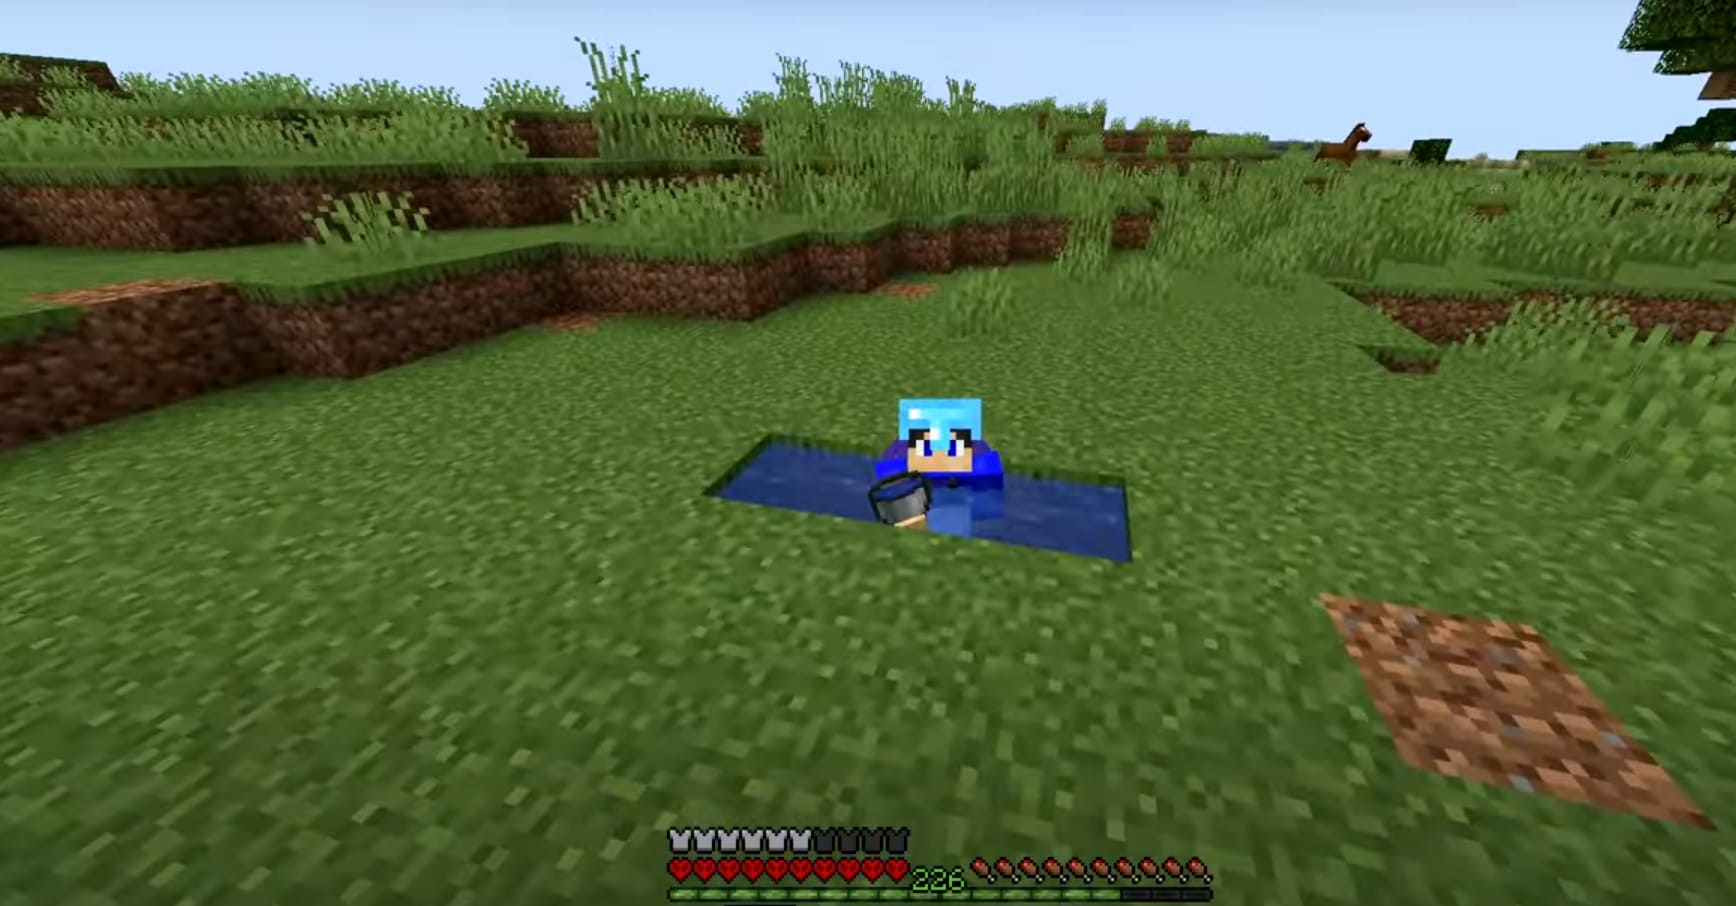
🪣 Step 5: Grab Water with a Bucket
Once you have a bucket, collect water from a nearby lake, pond, or river.
Use it to:
- Clear lava later
- Make a farm
- Climb up/down cliffs with a water elevator
- Put out fires
🧠 Bonus Tip: You can even use a bucket to avoid fall damage if you’re fast.
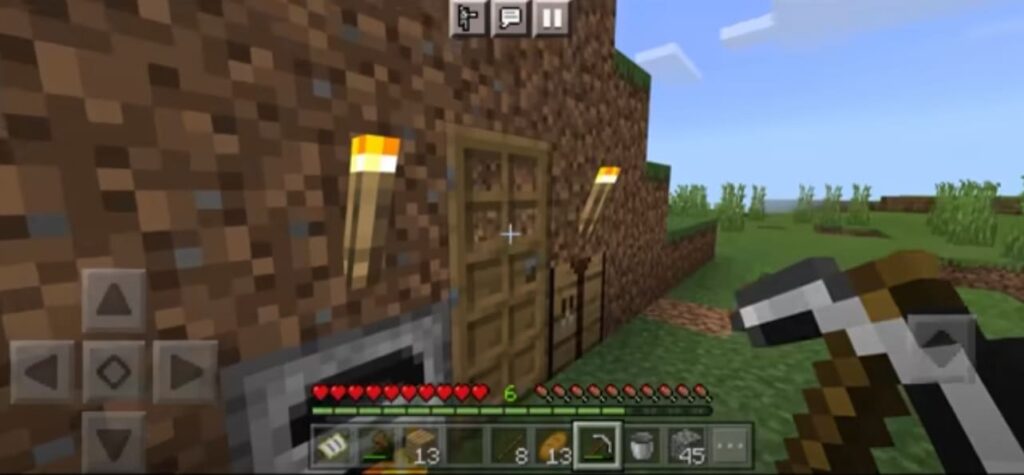
🏗️ Step 6: Expand Your Shelter or Start Planning a House
By now, your little cave is cramped. You have two choices:
- Expand your cave base by digging deeper and adding rooms (storage, furnace, crafting…)
- Or start planning a real house near your spawn point.
Whichever you choose, make sure it’s well-lit and mob-proof.
🧠 What to Avoid on Day 2
- ❌ Don’t enter deep caves without torches, food, and backup tools
- ❌ Don’t waste iron on helmets or boots too early
- ❌ Don’t wander too far from spawn unless you know the way back
🏁 Day 2 Summary – What You Should Have By Nightfall
By the end of Day 2, you should have:
🔨 Full set of stone tools
🧲 5–10 iron ingots (pickaxe, sword, bucket)
🪣 A water bucket
🔦 Torches and coal
🏠 Shelter expanded or house in progress
🍞 Some food cooked and maybe seeds planted
✅ Ready for Day 3?
Coming next: how to explore caves safely and find your first diamonds. Stay tuned!