New to Minecraft? Learn how to survive your first days with the cave shelter method — fast, safe, and perfect for beginners.
Your first nights in Minecraft can be thrilling — but also deadly. With no tools, no shelter, and monsters lurking in the dark, most new players don’t make it past the first night.
But here’s the smart way: don’t waste time building a wooden house. Instead, dig into a hillside and create a simple cave shelter. It’s faster, safer, and lets you get what matters most — tools, light, and protection — in just minutes.
In this step-by-step beginner’s guide, you’ll learn exactly how to survive Day 1 using the cave method. No fluff, no risks — just practical survival.
🪵 Step 1: Punch Trees and Gather Wood
Your first mission is to gather wood — it’s the base material for everything in early survival.
- Walk up to a tree and hold down the punch button to collect logs.
- Get at least 10–15 logs.
From here:
- Open your inventory
- Craft wooden planks
- Make a crafting table
- Craft a wooden pickaxe (you only need this one tool at first)


🏔️ Step 2: Find a Hill or Stone Wall to Dig Into
Don’t run around aimlessly. Look for:
- A stone cliff, small hill, or mountain wall.
- Anything with exposed stone you can dig into.
Once you find it:
- Use your wooden pickaxe to dig 4–5 blocks into the stone wall
- Make a 2-block high tunnel, then hollow out a small room
- This is your first shelter
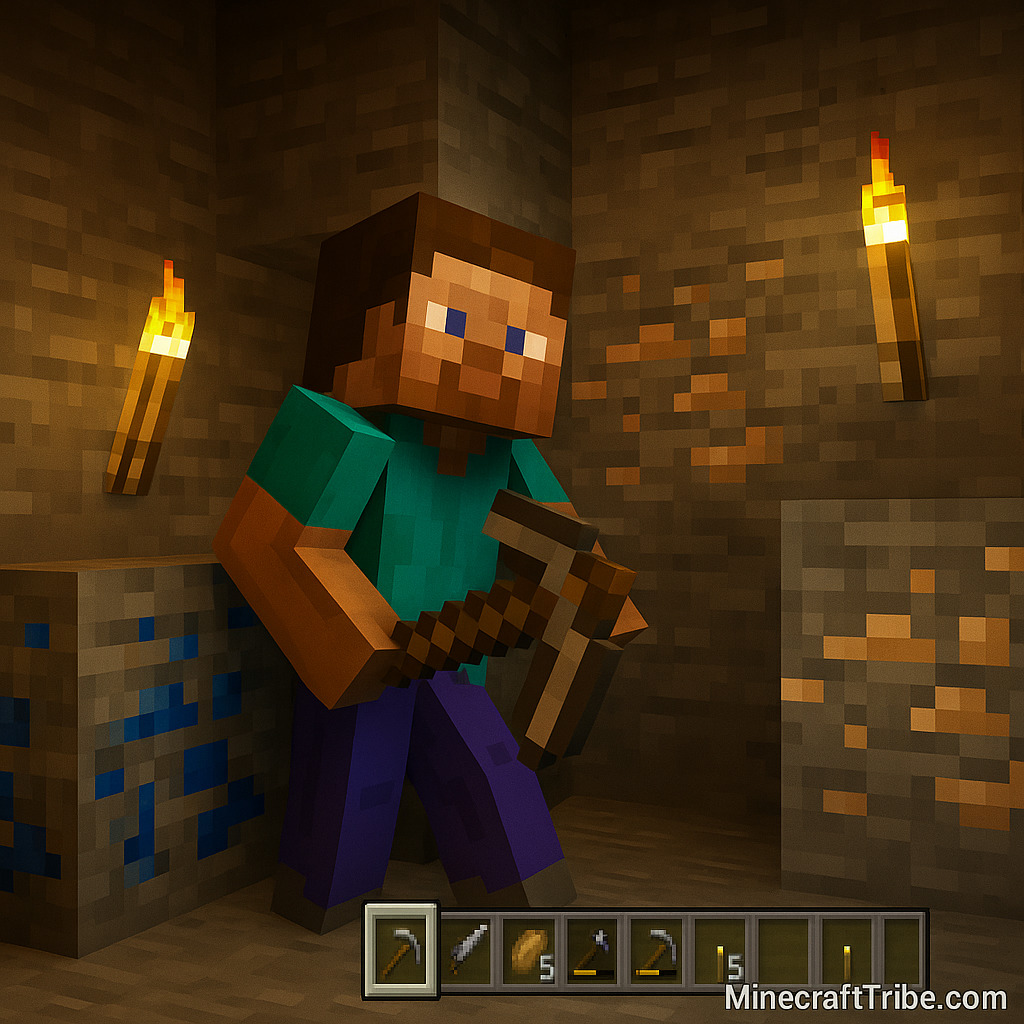
🔨 Step 3: Mine More Stone to Upgrade Your Tools
While digging, collect at least:
- 11 cobblestone blocks: 3 for a stone pickaxe, 8 for a furnace
Then:
- Place your crafting table
- Craft a stone pickaxe (much faster)
- Make a furnace using 8 cobblestone in a circle
🔥 Step 4: Make Charcoal for Torches (If No Coal)
You need light to stop monsters from spawning inside your cave.
If you can’t find coal yet:
- Put logs (not planks) into your furnace
- Use planks as fuel
- This will create charcoal, which works just like coal
Now:
- Craft torches using charcoal + sticks
- Place a few around your shelter
🍖 Step 5: Find Basic Food Before Night
Don’t let your hunger bar drop too low. Look for:
- Pigs, cows, chickens – kill and cook their meat
- Apples – from breaking oak tree leaves
- Fish – if near water, kill them bare-handed
Use your furnace to cook the raw meat. Cooked food restores more hunger.
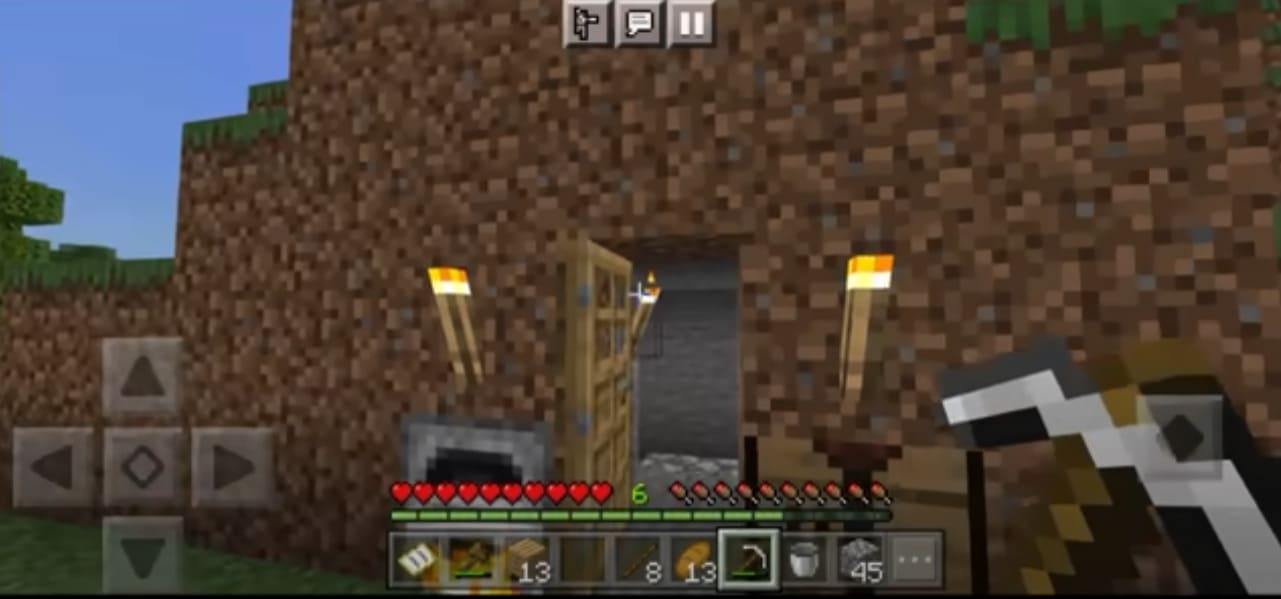
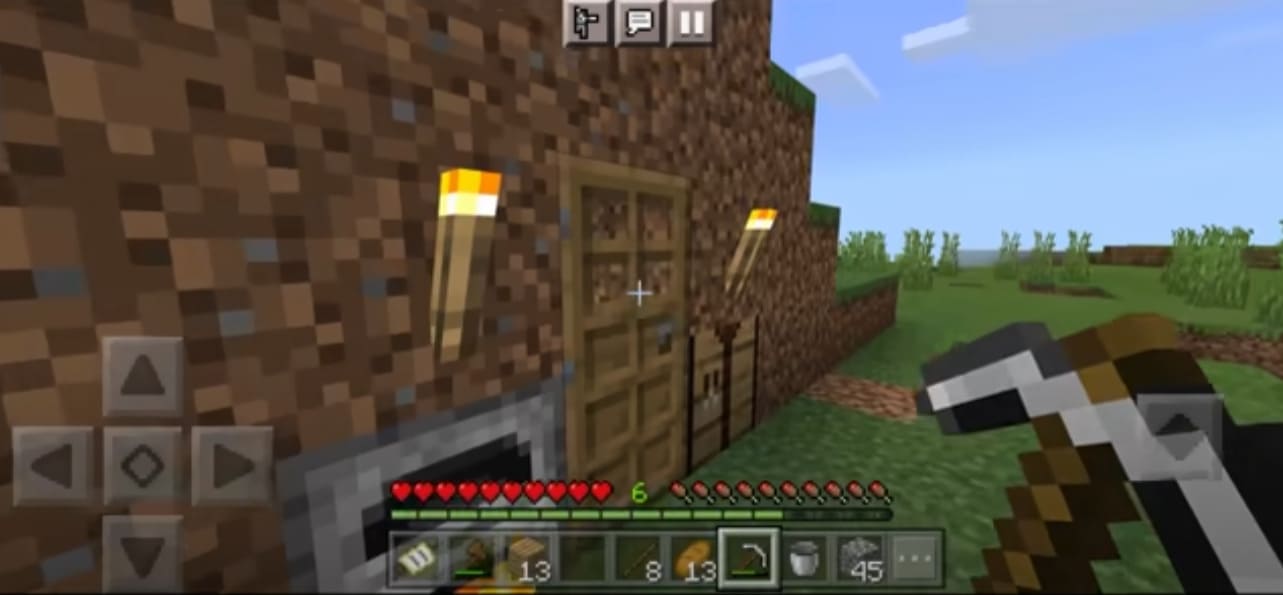
🚪 Step 6: Block the Entrance or Add a Door
As the sun goes down:
- Place blocks at your cave entrance to close it off
OR - Craft and place a door using 6 wooden planks
If mobs can’t see or reach you, you’re safe.
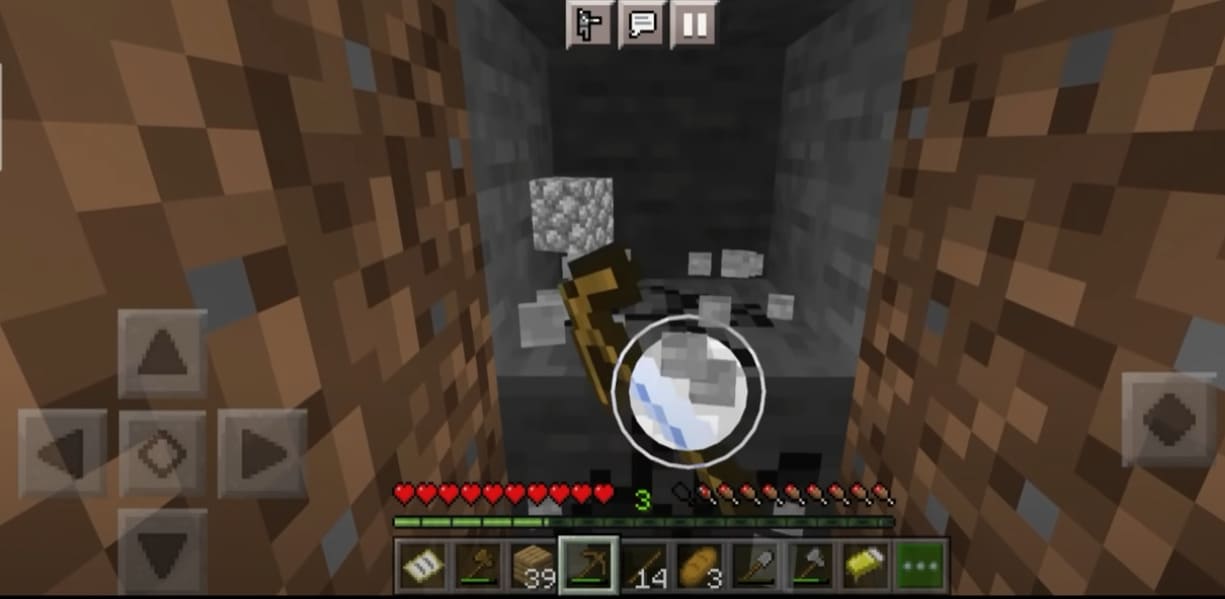
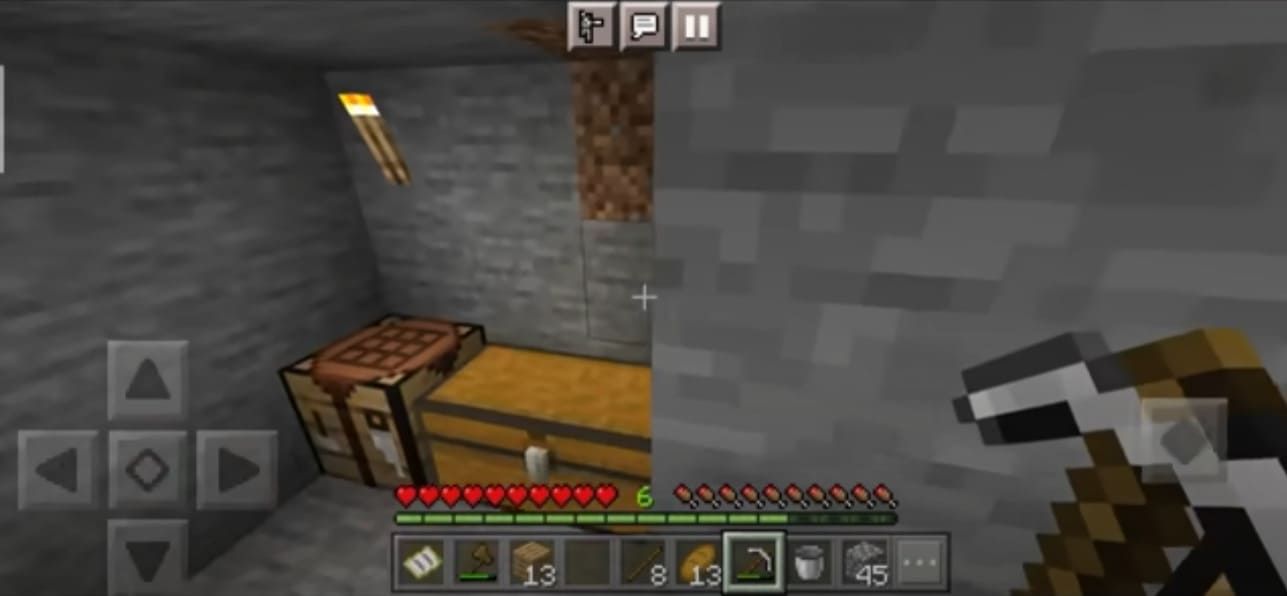
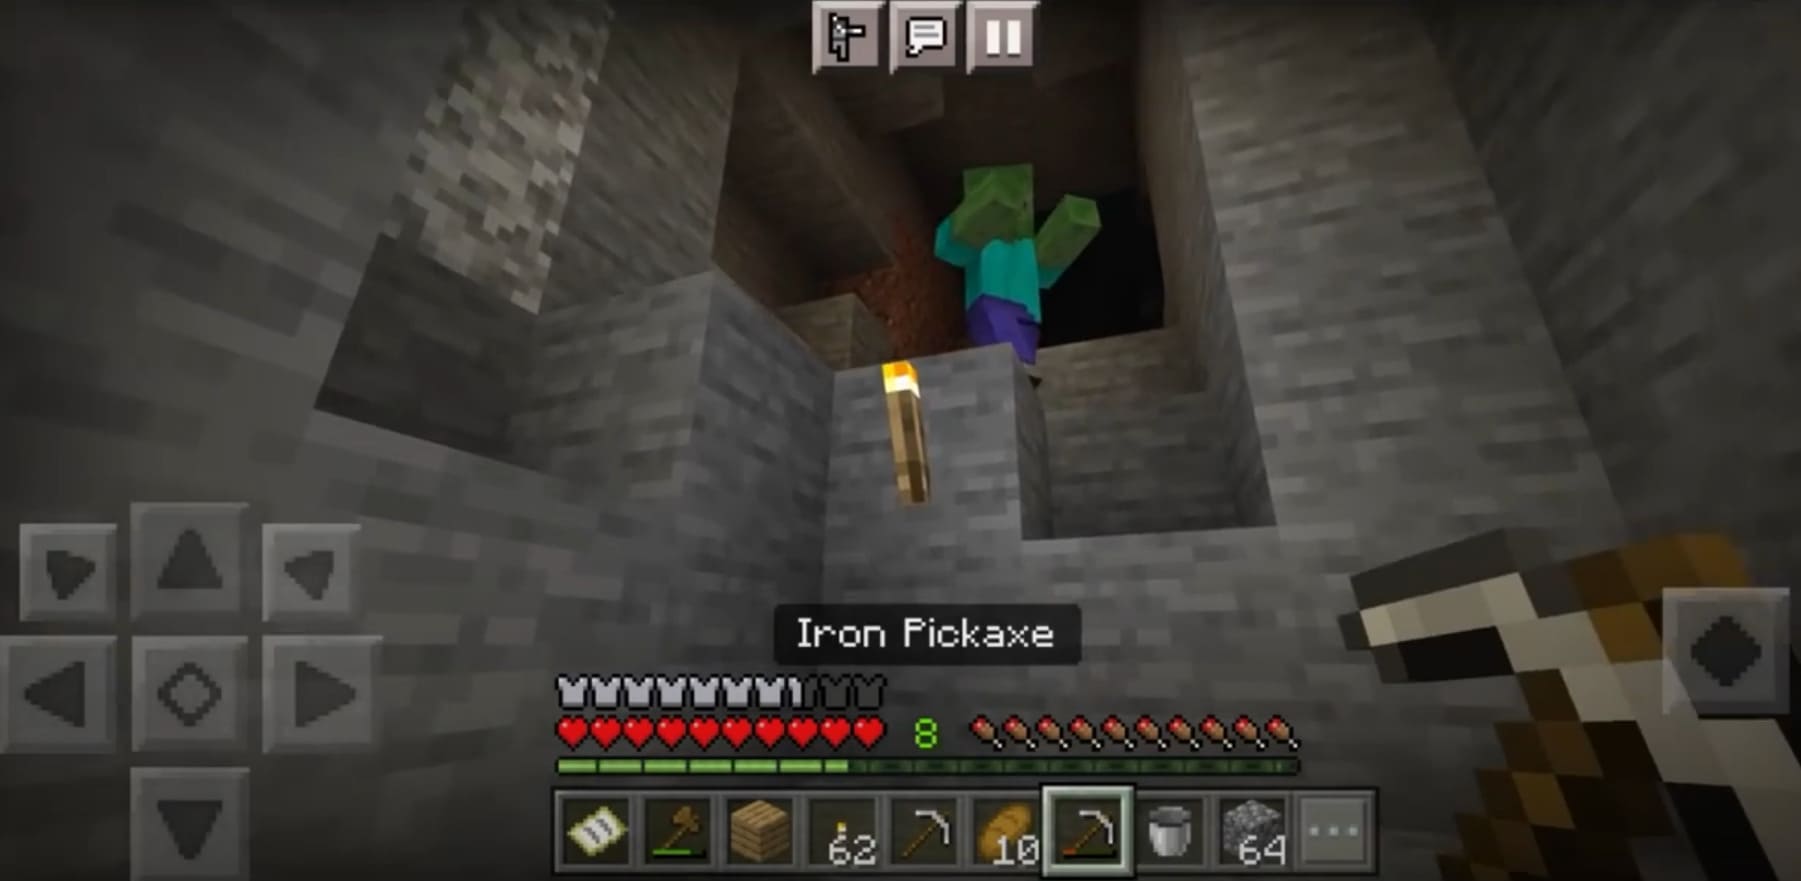
⛏️ Step 7: Use the Night to Mine Inside
While it’s dark outside:
- Expand your cave
- Mine down carefully (never straight down)
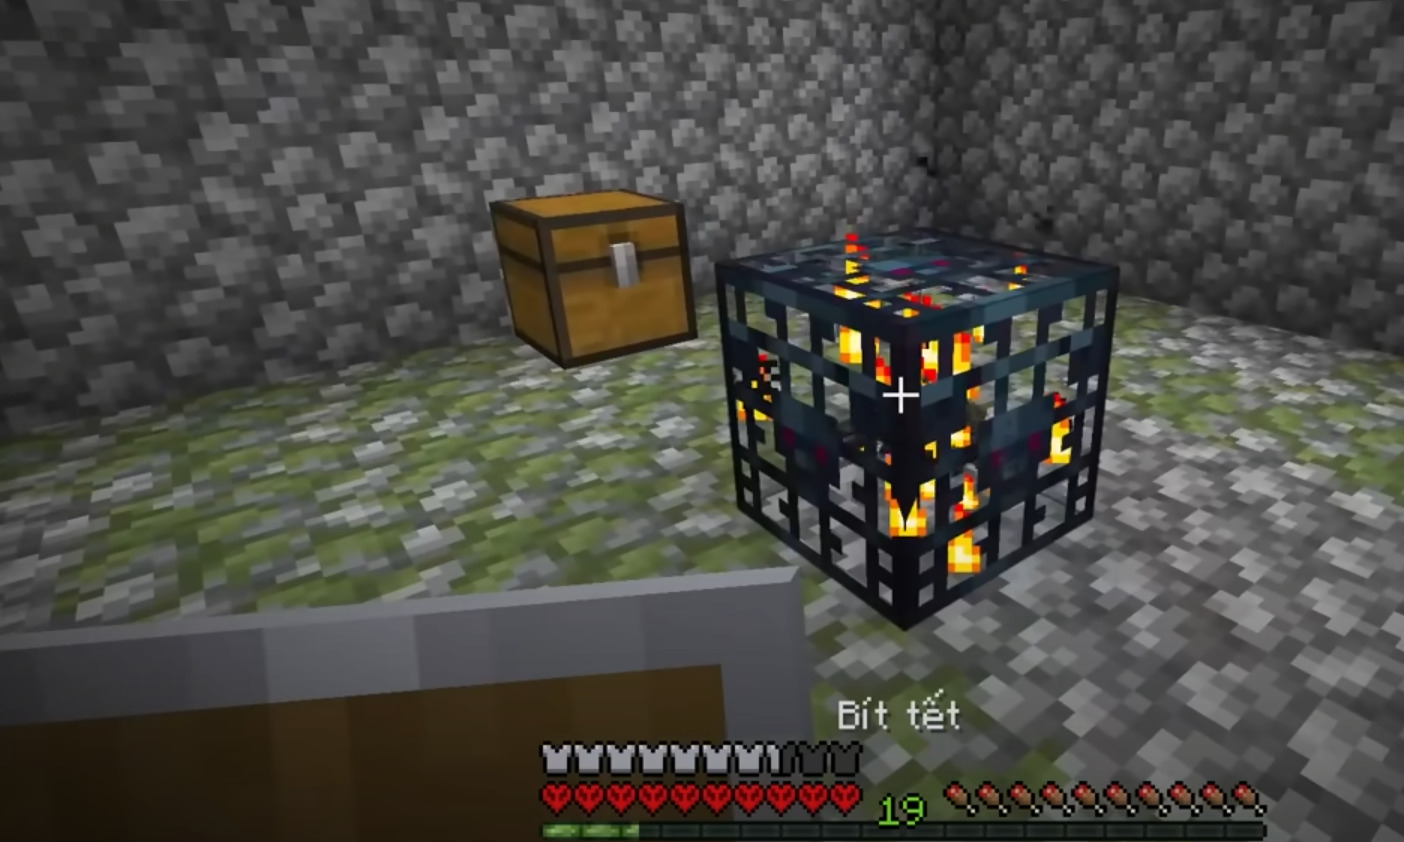
- Look for coal, iron, or copper
- Store items in a chest (crafted from 8 planks)
Use this time to prepare for better tools on Day 2.
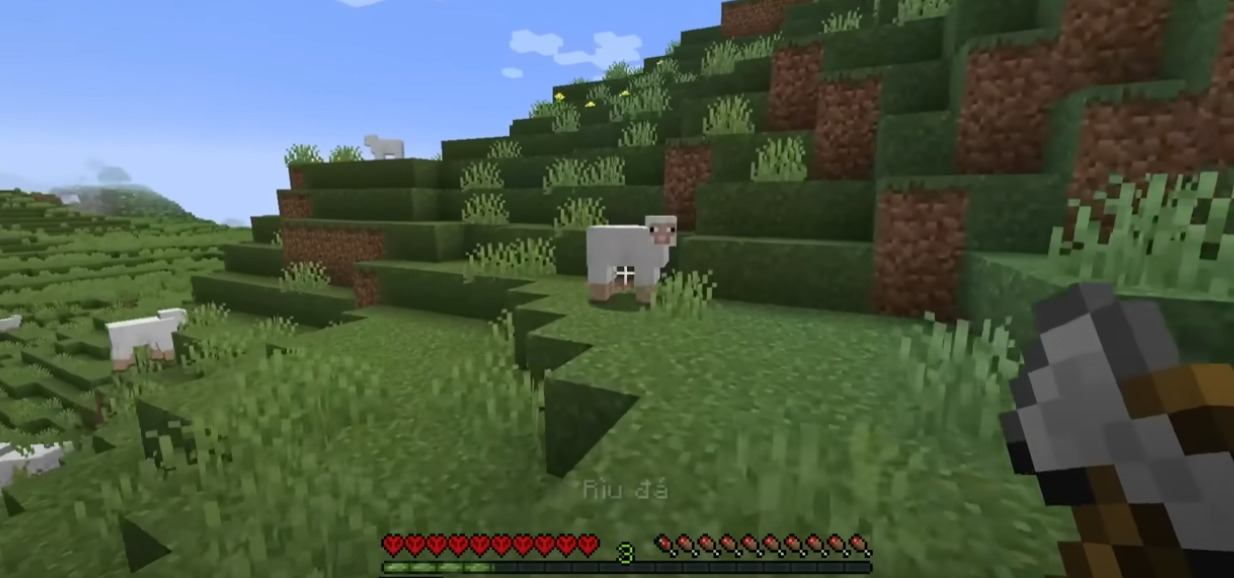
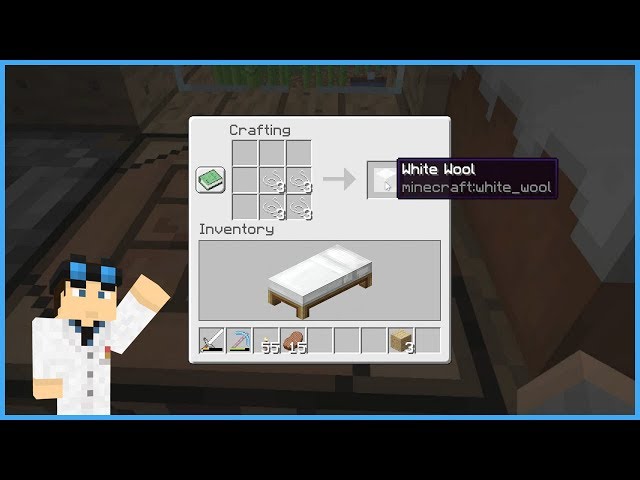
🛏️ Optional: Make a Bed If You Find Sheep
If you find sheep during the day, collect 3 wool and craft a bed. This lets you:
- Sleep to skip the night
- Set your spawn point
But if you can’t find sheep, just stay hidden in your cave. It’s safe.
🌅 Congratulations! You Survived Your First Day
By using the cave shelter strategy, you’ve survived one of the hardest moments in Minecraft without wasting time or resources.
- Craft better tools (stone, iron)
- Explore further
- Start farming or mining deeper
- Build a real house later — now that you’re safe and prepared
Quick Survival Checklist
✅ Gather 15 logs
✅ Make crafting table + wooden pickaxe
✅ Dig into stone wall
✅ Make torch + furnace
✅ Find food
✅ Block entrance at night
✅ Upgrade tools with stone